This is an archived article and the information in the story may be outdated. Please check the time stamp on the story to see when it was updated last.

A perfect messy bun may sound like an oxymoron (and it kind of is…) trust us–the ultimate messing bun is very hard to achieve. A messy topknot is practical, yet sexy. It’s the one hairstyle every woman should know to create, flawlessly.
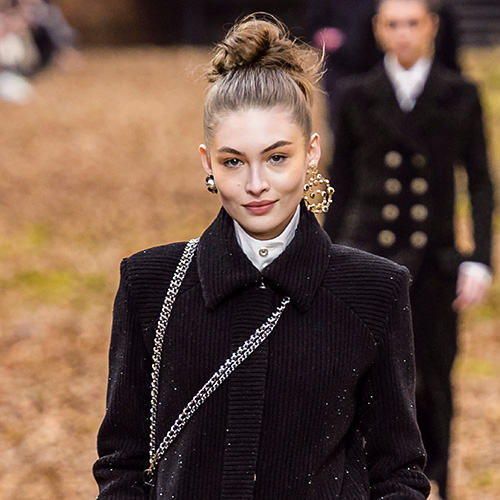
In fact, the messy bun is so popular, it even made an appearance at Paris Fashion Week this year in the Chanel Fall 2018 runway show. The Chanel approved messy bun is elegant and includes lots of volume. It’s perfectly imperfect!
Getting messy perfection is not an easy task. Messy buns need to look just right–otherwise, you look like you just rolled out of bed and forgot to do your hair. Not a good look. One of the reasons we love messy topknots so much is because they look effortless (even though they’re totally not), cool, and chic.
But of course, messy buns may look simple to recreate, but they’re actually quite deceiving. There’s a big difference between a lopsided, bad messy bun and a strategically-placed, good messy bun that looks like you didn’t try at all to look that chic. The beauty of a messy bun is making it look like you didn’t have to redo it at least 8 times to get it just right.
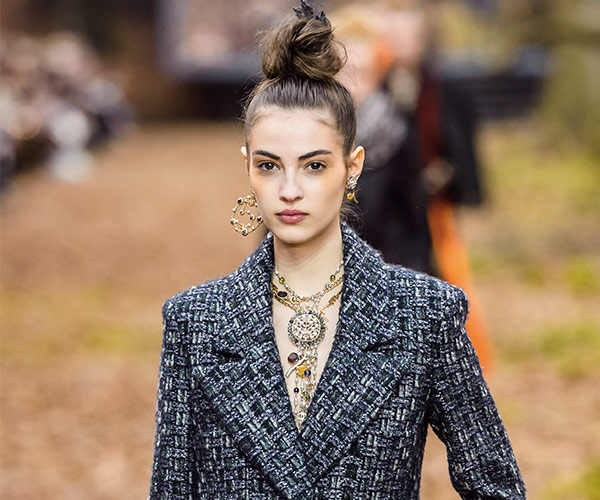
[Photo: ImaxTree]
By now, you’ve probably figured out how to take an ordinary sock or bun donut to construct ballet buns that defy nature. The only problem is, they’re far more elegant than the down-to-earth style we want to create on a daily basis when going for the messy bun look.
Luckily, vlogger MissAlex has the easiest messy bun tutorial imaginable. Let this be your guide for how to create a messy bun. We guarantee you can master the perfect messy updo in just a few steps.
All you’ll need for this easy hairstyle is a brush, two elastic ponytail holders, a handful of bobby pins, a fine-toothed comb, hairspray, and a bit of dry shampoo for va-va-voom volume.
Here are the simple steps to creating a messy bun:
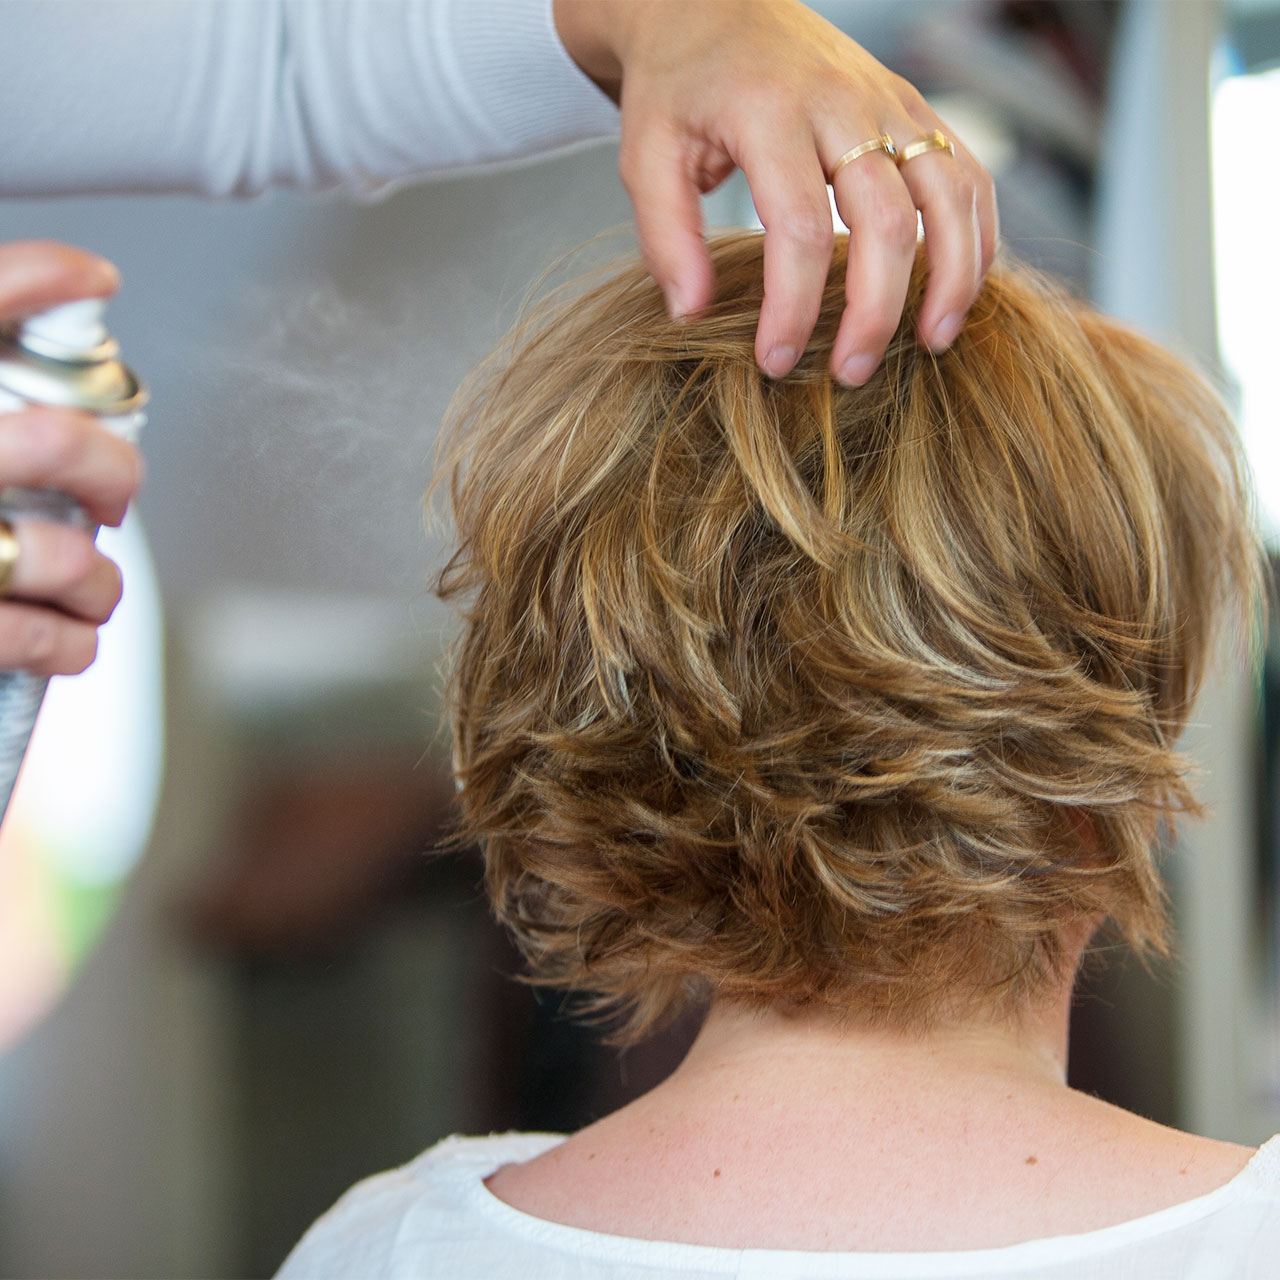
1) First, spray your favorite dry shampoo onto the roots of your hair. The dry shampoo is to enhance the volume of your hair and give it more life. Using a comb, tease your hair all over towards the ends. Pay special attention to the sides and crown of your head. You want a full head of hair to make the messy bun look just right. Add a light spritz of hairspray to keep your hair in place once you’re done.
2) Gently brush your hair back with a regular hairbrush. You want to smooth out your hair on top. Be careful not to brush through the ends of your hair. If you do, you’ll mess up the teased goodness you just spent all that time creating in step one.
3) Now we’re ready to pull your hair into the first step of the updo. Drop your head forward so that you’re looking at the floor and your hair falls in front of your face. Gather your hair together as if you’re about to put it into a regular ponytail. We recommend doing this at the very top of your head to give you that ultimate messy bun look. With one of the hair ties, tie your hair up into a high bun and fasten it in place. Make sure it is secure it with one of the elastic ponytail holders, to the best of your ability.
4) Now, facing yourself in the mirror, grab the second hair tie. Using the last elastic holder, wrap the bun into place so that it is slightly more contained and secure. You don’t want it to be too tight to where it hurts your head, but too loose will let your messy bun fall out and ruin all of your hard work.
5) Using bobby pins, pin down any stray pieces of hair that look way too out of place. Don’t pin down too much (remember it is called a messy bun), but anything that looks too crazy should be fastened down. Don’t be afraid to use your teasing comb to create even more volume on loose strands if you feel it is needed.
6) Optional sixth step: pull out random strands of hair around your temples to frame your face.
This can look super cute, depending on your own personal style and preference.
Watch MissAlex demonstrate this cool, low-maintenance look in less than three minutes. You’ll be blown away by how easy she makes it look.


