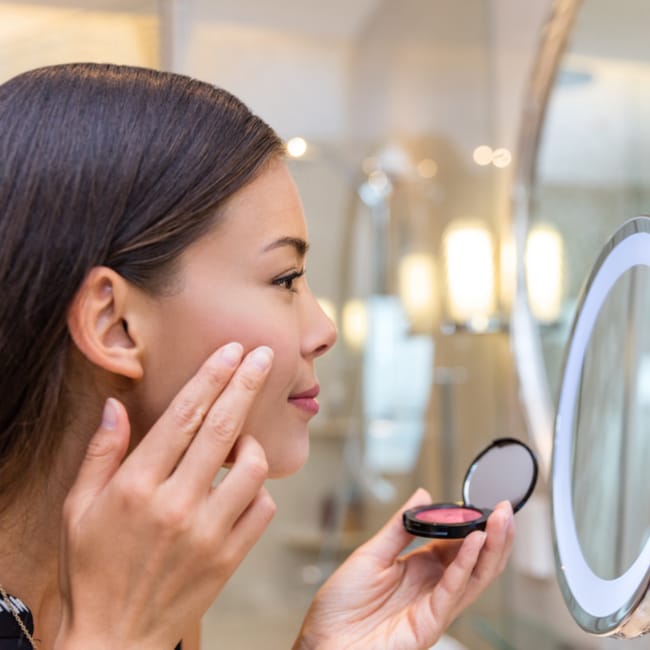
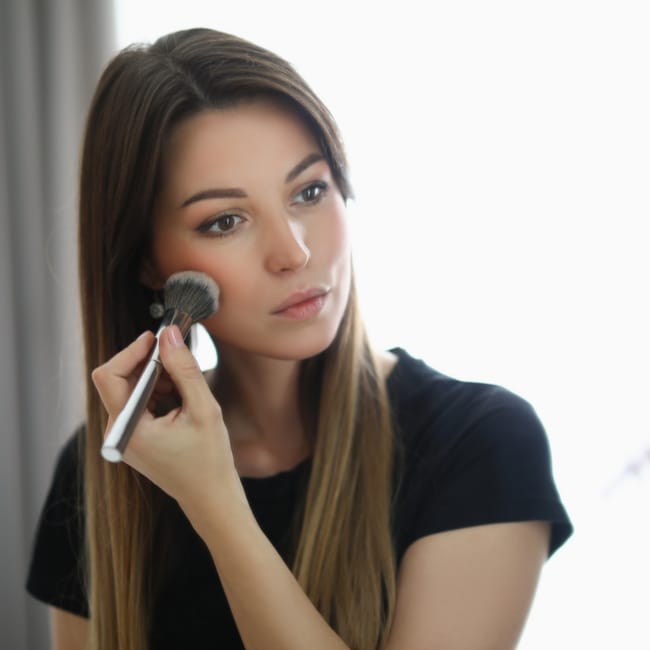
Half of perfecting your makeup routine is finding the right products. The other half is nailing your technique. After all, the most high-quality, expensive, and flattering makeup in the world won’t do you any good if you don’t know how to apply it properly to highlight your features and enhance your natural beauty! Of course, your best option is always to head straight to a professional makeup artist; but when that isn’t an option (and let’s be honest, for most of us, it usually isn’t) learning how to apply makeup like a pro is your next best bet! If you’re looking for to perfect your blush-application skills, we’ve got you covered with some expert advice.
To discover the best step-by-step process for putting your blush on, we spoke to makeup artist Kyla Salliss from The Detox Market. Salliss gave us a rundown of all of her top tips and tricks, and even told us some of her favorite products to use for the most professional finish. Find it all below!


Step 1: Prep With Moisturizer
First thing's first: before you apply your blush, Salliss says you should start by properly prepping your skin with your favorite moisturizer and/or any other complexion products of your choice.
If you're applying your blush on top of other makeup, a good rule of thumb is to choose similar formulas. For example, liquid products typically work best with other liquid products! "I find liquid blushes apply best on top of other cream products," Salliss explains. "For a seamless finish I would avoid using heavy powders underneath liquid and cream blushes." On the other hand, though, if you're using a powder blush, you should use other powder-based products on your skin.
As far as at which point in your makeup routine you should apply your blush, Salliss says it typically works best after your contour and bronzer, but before your highlight. Got it!

Step 2: Apply Liquid Or Cream Blush
Once your face is prepped and your complexion products have been applied, it's time to apply your blush! "You can apply liquid or cream blushes using your fingers, a sponge, or a dense blending brush," Salliss notes. "I personally find my liquid and cream products apply best using just my fingers, as your body's natural heat helps to melt the cream product to your skin." Sounds easy enough! As far as powder blushes go, she says your best application tool will typically be a "fluffy medium-sized brush," which will "ensure the product is applied evenly."
"Take a small pea size amount of product [if it's liquid] or a couple swipes if it's a stick powder (my current favorite are the cream ILIA Multi-Sticks) and place the product on either side of your face, wherever you'd like a rosy glow," she instructs. For a great lifting effect, Salliss suggests placing your blush along your cheekbones and temples.

Step 3: Blend, Layer, And Set
Finally, blend that product in and layer as needed. To blend cream and liquid blush, Salliss says you should "light press or tap the blush into your skin, blending some of the excess pigment onto your temples and the apples of your cheeks." As far as applying and blending powder blush goes, Salliss says you should "grasp the brush farther back on the handle so you naturally apply the product with a lighter hand and are able to build the powder to your desired amount."
If you'd like a bit more color, you can build another layer of product on top—but if you've already reached your desired look, it's time to set! Salliss suggests topping off your cream blush with a powder blush, such as the RMS "re" dimension hydra powder blush,to set it, along with a hydrating mist to allow all of your creams and powders to "melt together nicely." Then, you're all good to go and make the finishing touches on the rest of your makeup routine. Voila!


