This is an archived article and the information in the story may be outdated. Please check the time stamp on the story to see when it was updated last.
SheFinds receives commissions for purchases made through the links in this post.
Getting a facial is one of life’s sweetest skincare luxuries. But the price you’ll pay for cleansing, extractions, and masks applied by the hands of a skillful skin professional can add up. A spa facial is usually worth every penny you’ll pay, but there are simple and far more affordable ways you can give yourself an at-home facial that will prove relaxing and effective at keeping pores clean and clear.
Follow these five steps once a week for a super easy at-home facial that will leave your skin looking better than ever. This DIY facial requires just a few products and very little skill (save the serious extractions for the professionals). You’ll be on your way to a radiant, glowing, complexion in no time.
Easy DIY Self Facial


Step One: Steam And Massage Your Face
Contrary to what some of us grew up reading, our pores don’t open and close like doors. But steaming your face as the first step in an at-home facial can help make your skin more receptive to cleansers and masks. The steam helps loosen clogged sebum that causes pimples, blackheads, and whiteheads.
Boiling a cup of water in a pot on the stove is all you really need to do, though you can get fancy if you like and add a few drops of an essential oil like lavender oil to relax and put you at ease. Once the water has released steam, carefully set it on a towel and then place a larger towel over your head and carefully position your face about a foot away from the pot so that your skin feels the effect of the steam. Five minutes under steam is all you need. During this time, you can get the blood circulating to your face even more by gently performing a face massage using light, circular motions while focusing on one area of your face at a time.
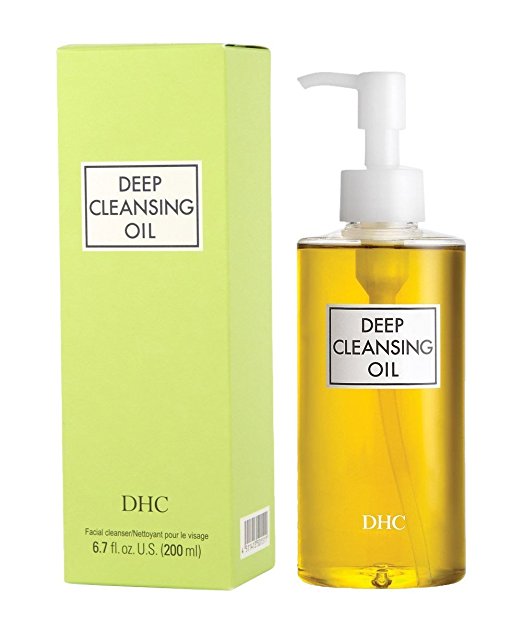
DHC Deep Cleansing Oil ($26.41)
Step Two: Clean Your Skin With An Oil-Based Cleanser
Your skin type should help you determine the type of cleanser that is best for you and, generally speaking, both water-based and oil-based cleansers are effective at cleaning your pores. Oil-based cleansers have been given a lot of attention in recent years for their ability to combat makeup and sebum in the skin more effectively. In a nutshell, oil does a way better job than water at destroying oil. Oil-based cleansers are also safe for all skin types—yep, even oily, acne-prone skin.
After you’ve steamed and massaged your face, apply an oil-based cleanser to your skin and spend a minute or two gently massaging the product to all areas of your face and neck. If you are wearing makeup, the cleanser should effortlessly remove it all, even stubborn waterproof mascara. Finally, rinse your face with warm water and prepare for the next step: blasting your blackheads from existence.
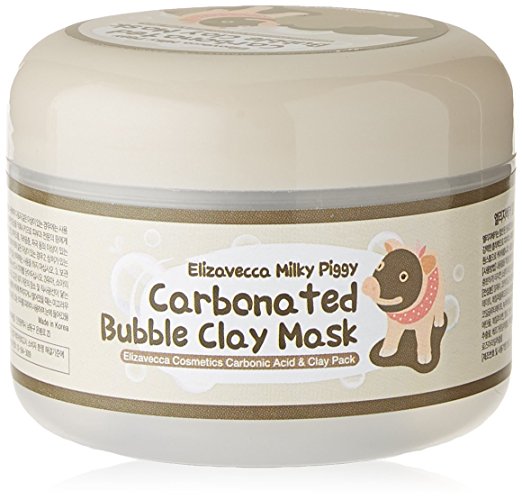
Elizavecca Milky Piggy Carbonated Bubble Clay Mask ($10)
Step Three: Apply a Mask For Pore Clarification
The one major difference between receiving a spa facial and giving yourself an at-home facial is this: you should always leave extractions to a professional. No matter how highly rated your extraction tool may be, attempting to dig out blackheads from your pores can result in scarring if you aren’t careful (or skilled in this area). Luckily, there are plenty of really great masks on the market that rely on activated bamboo charcoal or clays that do an incredible job at soaking up excess sebum in your pores and clearing out blackheads, while preventing new ones from forming.
After you’ve thoroughly cleansed your skin, apply a mask like this bubble clay mask to your entire face and wait. It will bubble, a sure sign that it’s working. Rinse it with warm water about 10 to 15 minutes later.
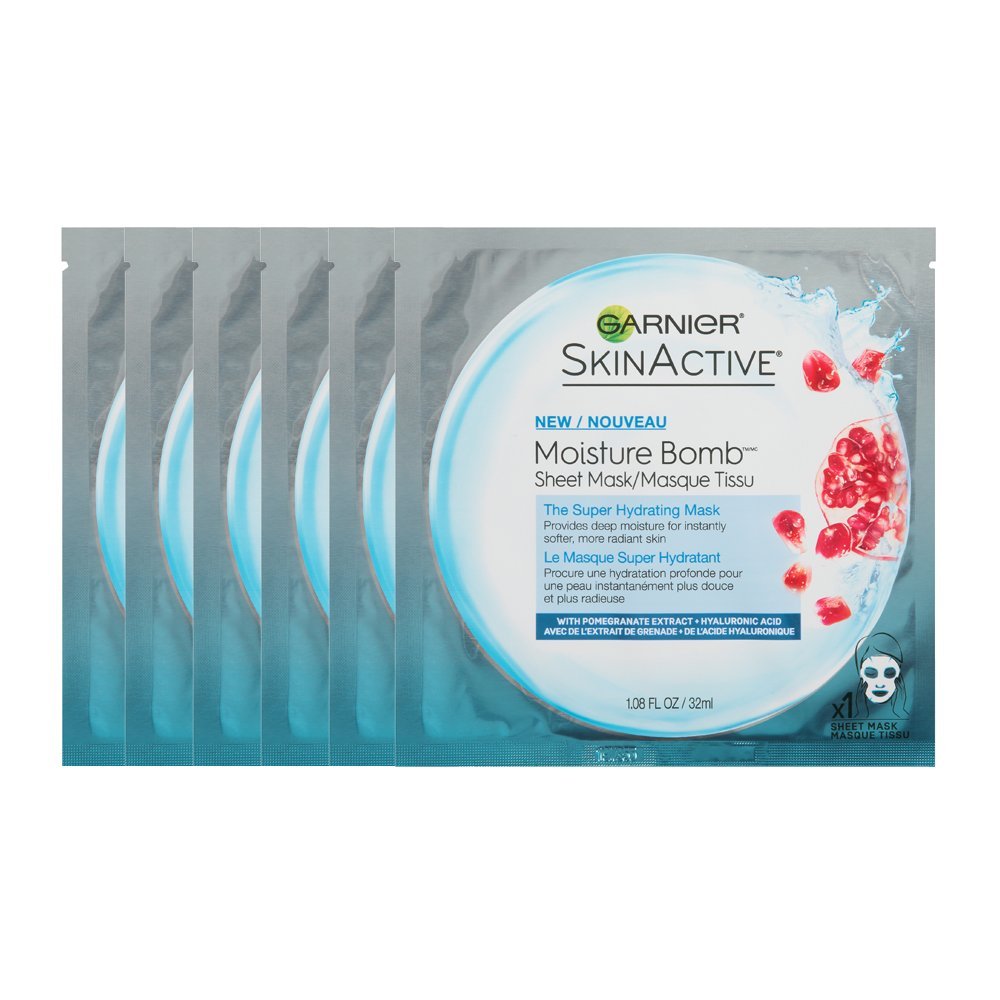
Garnier SkinActive Super Hydrating Sheet Mask ($11.58)
Step Four: Apply A Hydrating Sheet Mask
After your gentle mask extractions, it’s a good idea to add hydration back into your skin with a gentle, nourishing sheet mask. This one contains soothing and plumping ingredients like hyaluronic acid, aloe vera, and pomegranate. Wear the sheet mask for 15 to 20 minutes. You can also use this time to apply cooling cucumber slices or eye mask patches to your eye area.
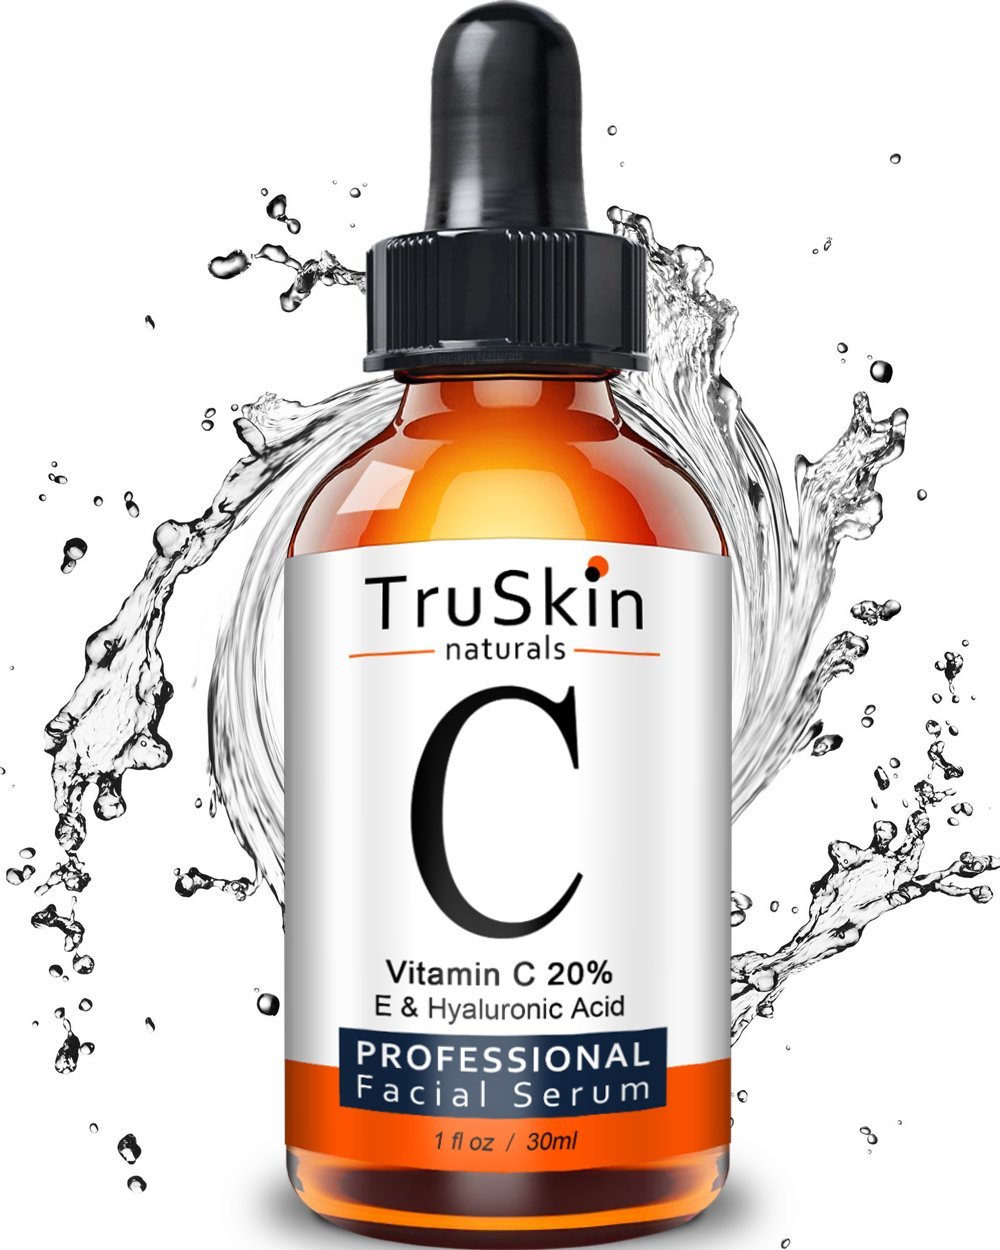
TruSkin Naturals Vitamin C Serum ($19.99)
Step Five: Apply Toner, Serum, And Eye Cream--In That Order
Remove your sheet mask and refresh your skin with a spritz of a lightweight toner. Then select a serum, like this vitamin C serum, and apply a few drops to your skin. Vitamin C is an excellent choice because the ingredient helps build new collagen, brightens and tightens skin, and can even fade scars and hyperpigmentation. Give your skin a few seconds to absorb the serum and then, using your ring finger, gently tap an eye cream below and around your eyes.

Step Six: Moisturizer
You’ve come to the final step in your DIY facial. Feels amazing, doesn't it? Seal the deal with a great moisturizer that works for your skin type. If you have dry skin, that could mean a moisturizer packed with ceramides and hyaluronic acid. If you have oily skin, your best bet might be a light moisturizer with white willow bark that can prevent acne breakouts.
Once you've completed the sixth and final step, your at-home facial is complete! You’ve successfully cleansed, toned, carefully extracted blackheads, protected your skin with a serum, and left it silky smooth with a moisturizer that’s right for your skin. And the best part is: you can perform all of these steps in the privacy of your bathroom, saving yourself a boatload of money.
For more skincare information on SHEfinds, check out:
--8 Products You Should Add To Your Skincare Routine
--4 Products You Really Don't Need In Your Skincare Routine
[Photos: Shutterstock]


