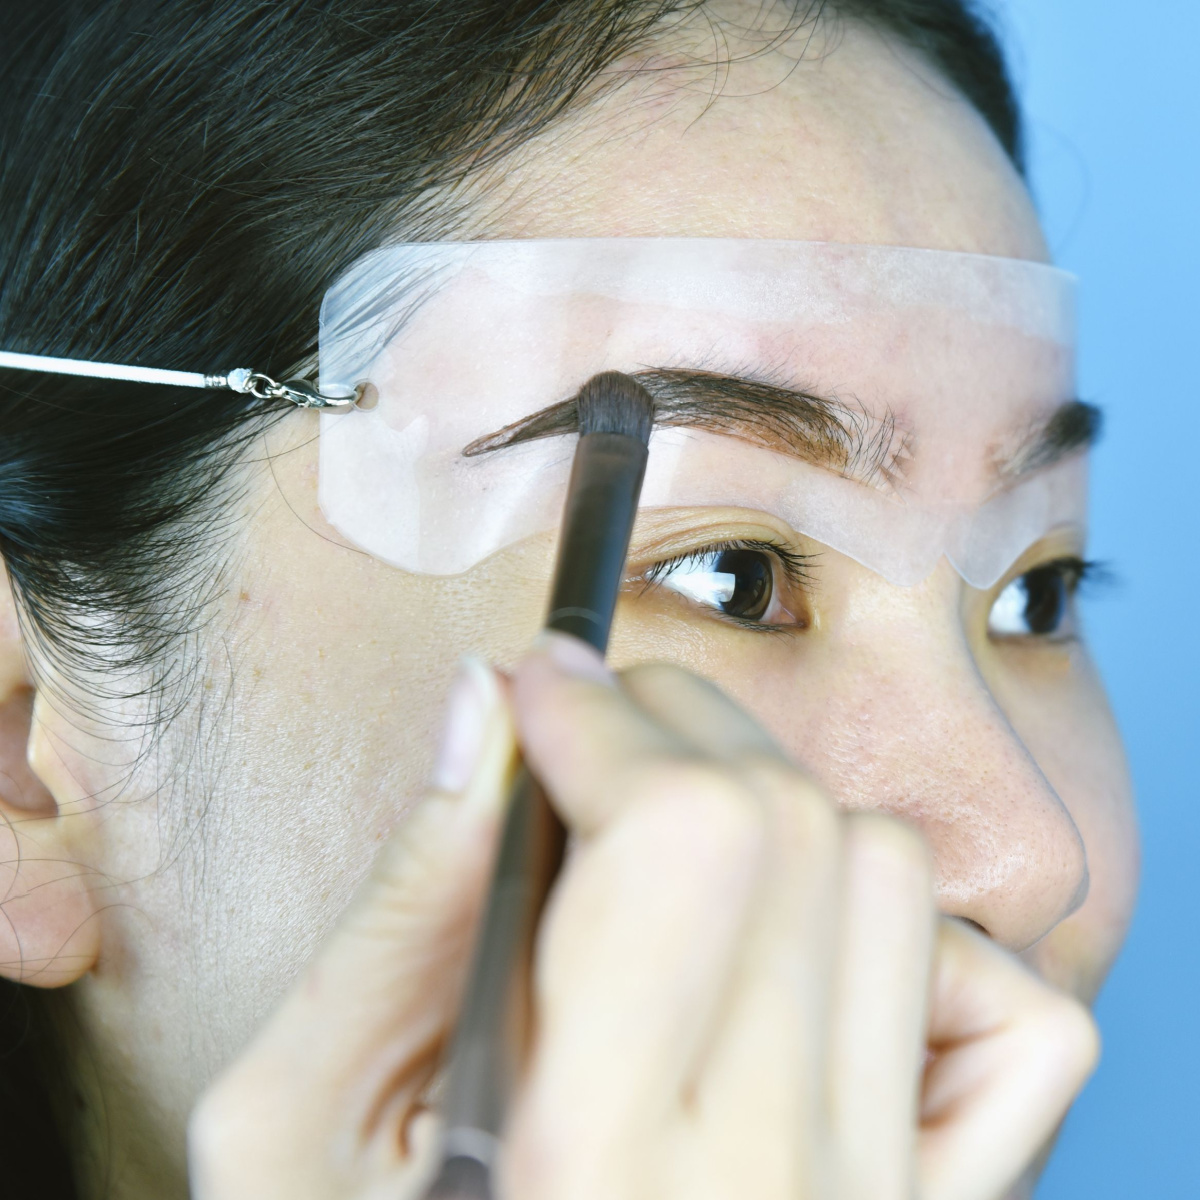
1. Use a Brow Stencil
The first step Dennis offers is to use a "brow stencil in the brow shape you like and take a light-colored pencil or concealer on a liner brush and draw the outline of the brow shape."
Next, she says to "fill this in with light hair-like strokes inside of the outline." Afterwards, Dennis recommends using a "stiffer brush and brow pomade or powder" that is the same color or "slightly lighter than your hair color" and filling the shape in with a "stippling motion."
2. Fill in Shape with Micro Pencil or Brow Marker
To continue the eyebrow-filling process, Dennis suggests utilizing "a micro pencil or brow marker to fill in the brows where the hairs are more sparse."
She emphasizes the importance of "hair-like strokes to create fullness" while again opting for a "color that is the same shade or slightly lighter than your brow color."
Another important tip Dennis shares is that "using a color too dark can look harsh" and can also inadvertently "age" you.
3. Finish with Lightly Tinted Gel
To complete, Dennis recommends "using a lightly tinted brow gel" to create a "shape with and hold your brows in place." She says you may need to "fill in where needed to refine the brow shape" throughout the day. Ultimately, she stresses that "less is more when it comes to brows."
"Creating shape so that they frame the eyes instead of focusing on them being dense" will allow for a more "realistic look," she adds. She also concludes that "using a thinner, harder pencil will give you more control."
If you choose a "softer pencil" to fill in your brows, Dennis advises "putting it in the freezer for five minutes before use to make it firmer."
Another pro tip she shares is that "a taupe-colored pencil works on most people," and if the pencil has "too much red in it and you don't have red in your hair, it can look unnatural."


