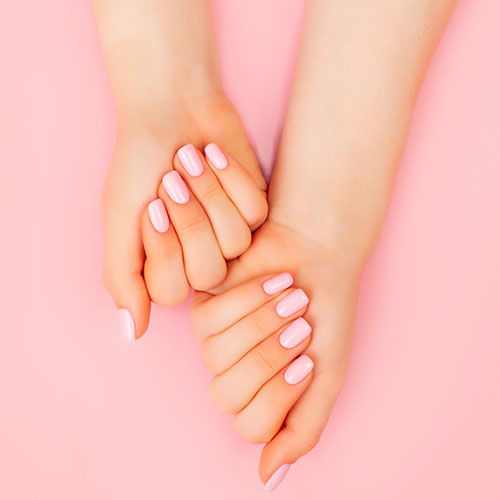
Gel nails are preferable to acrylics because the gel can be applied directly to your own nail, leaving your manicure with a natural look. Plus, many people find that gels cause less damage to the nails as this method can allow more oxygen to reach the nail.
Typically, when you get a professional gel manicure at a salon, the technician uses UV light to cure the gel so it hardens to your nail sooner. The UV light also makes the gel dry much faster so you are way less likely to smudge your manicure.
You can buy miniature UV lights for home use, but this can get pricey. Luckily, the UV light is not an essential part to nailing the gel manicure, and there are so many home gel sets that don't require the light.
Giving yourself a DIY gel manicure isn't too tricky. The two most important steps are priming your nails perfectly and using a high quality gel polish.
To prime your nails right, start with washing and lotioning your hands down to the cuticles. File the nails to shape them rather than using a nail clipper, then buff the nails with a square file to make sure you have an even texture. Finish with a thin base coat to help protect your nails from the gel polish.
Next is the fun part. Our favorite gel polish is the Essie Gel Couture 2-step Longwear Nail Polish ($11.20). It works in two steps, first the color and then the Essie Gel Couture Platinum Grade Finish Top Coat Top Coat ($10.54) to help set the gel.
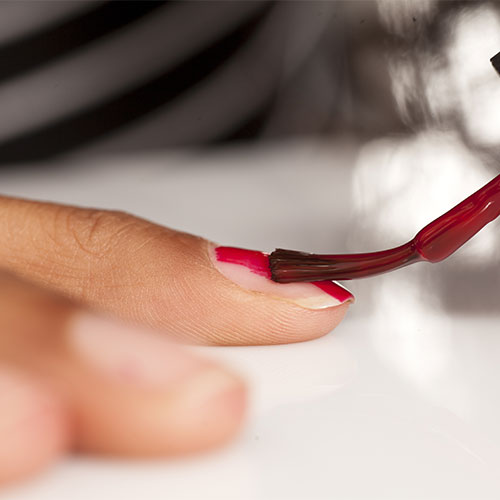
Apply two coats of whichever color you choose, then allow the gel to mostly dry before applying the top coat. It can take at least an hour for your nails to completely dry, but it is well worth the wait. Essie Gel Couture usually lasts at least 10-14 days, and the finished product looks just as nice as a professional manicure.
Shop a few of our favorite Essie Gel Couture colors:


