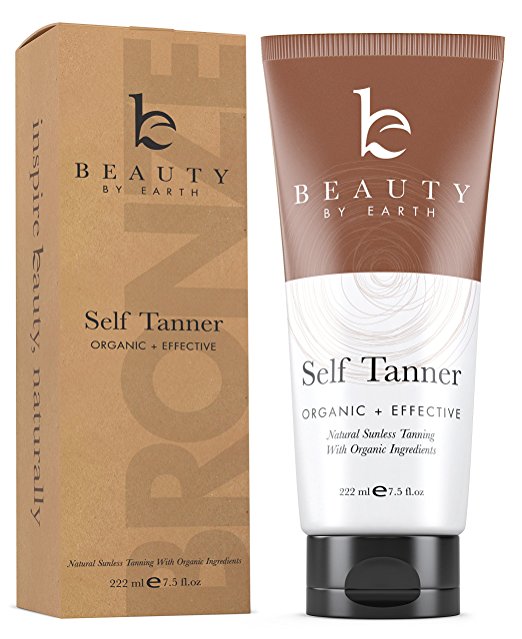
Step One: Find A Formula With Buildable Coverage
Beauty by Earth Self Tanner ($27.54)
With so many self-tanners on the market, you could try a different one every other day for a year and still have bottles left over. But not all self tanners are the same, nor are they all right for your skin tone and skin type. Plenty of drugstore self tanners work just as well as the expensive stuff, but it's important to know what to look for.
If you have dry skin, for example, an organic self-tanner like this option by Beauty by Earth is a good choice. It contains natural ingredients like aloe vera and argan oil can hydrate skin and prevent streaks. Not only is it a self-tanner, but also a sunscreen which provides buildable coverage for any skin tone. Meaning you can start off slowly with one application that gives you a subtle glow and work up to a darker color that looks more natural.
If you would rather get intense color from one application, choose light to medium shades if your skin tone is light and dark formulas if you have olive skin.
Step Two: Exfoliate
Skinerals Liquid Body Exfoliating Wash ($19.99)
Flaky skin is the enemy of a good artificial tan. Prep your body and face so that your skin is smooth and even in texture by exfoliating in the shower with a product like Skinerals. It buffs away dry skin using minerals instead of chemicals and is free of parabens and gluten. For extra exfoliation, use a scrubbing mitt in the shower and concentrate on areas of your body that tend to get rough, such as ankles, knees, and elbows.
Step Three: Dry Off And Moisturize
The third step may be a little confusing, but it’s important to do both: dry your skin of all water after a shower, wait a few minutes to ensure you are truly dry, and then be prepared to replenish your skin with more moisture. Apply a lightweight, water-based moisturizer instead of oil-based--it won’t absorb as quickly and can interfere with your self-tanning formula. Wait about 15 minutes until your skin is completely dry before applying self-tanner.
Step Four: Start At The Bottom And Work Your Way Up
Applying self-tanner can be a daunting task. Many women wonder where they should start. The answer: at the bottom, down by your ankles. Apply about one teaspoon of self-tanner to skin at a time and work the lotion in using circular motions.
Make sure you wear a self-tanner mitt (some formulas actually come with one) so that you avoid staining your hands. Orange hands are a telltale sign of a fake bake. Apply lotion evenly to all body parts until you reach your shoulders. Keep in mind you may need to ask for some help to cover your back.
When the time comes to apply self-tanner to your face, concentrate on the same areas the sun would naturally hit, like your forehead, cheekbones, center of your nose, and the center of your chin. Think of self-tanner the way you would contour makeup and blend, blend blend.
Always wash your hands after you finish applying the lotion to your face and then, the final step, apply a small amount of self-tanner to the tops of your feet and the backs of your hands.
Allow yourself to dry completely before going to bed or putting on clothes. Don’t shower for at least six to eight hours so that the formula has a chance to work its magic and fully absorb into your skin.
Tip: Have Lemons On Hand To Correct Self-Tanning Mistakes
The first few times you apply self-tanner, you’re inevitably going to make a mistake or two. Whether you forget to wash your hands and end up with orange palms or forget to exfoliate a dry patch--it happens. Have a few lemons on hand and work fast: cut a lemon in half and rub it onto streaks or stains for one to two minutes. Then lightly pat the area with a towel. If the streaks are still there, apply more lemon and buff again.
For more self-tanning tips, check out:
--This Self Tanner Is So Good, It Has A 5-Star Review On Sephora
--The 7 Best Drugstore Self Tanners For A Completely Natural Glow
[Photos: Shutterstock]


