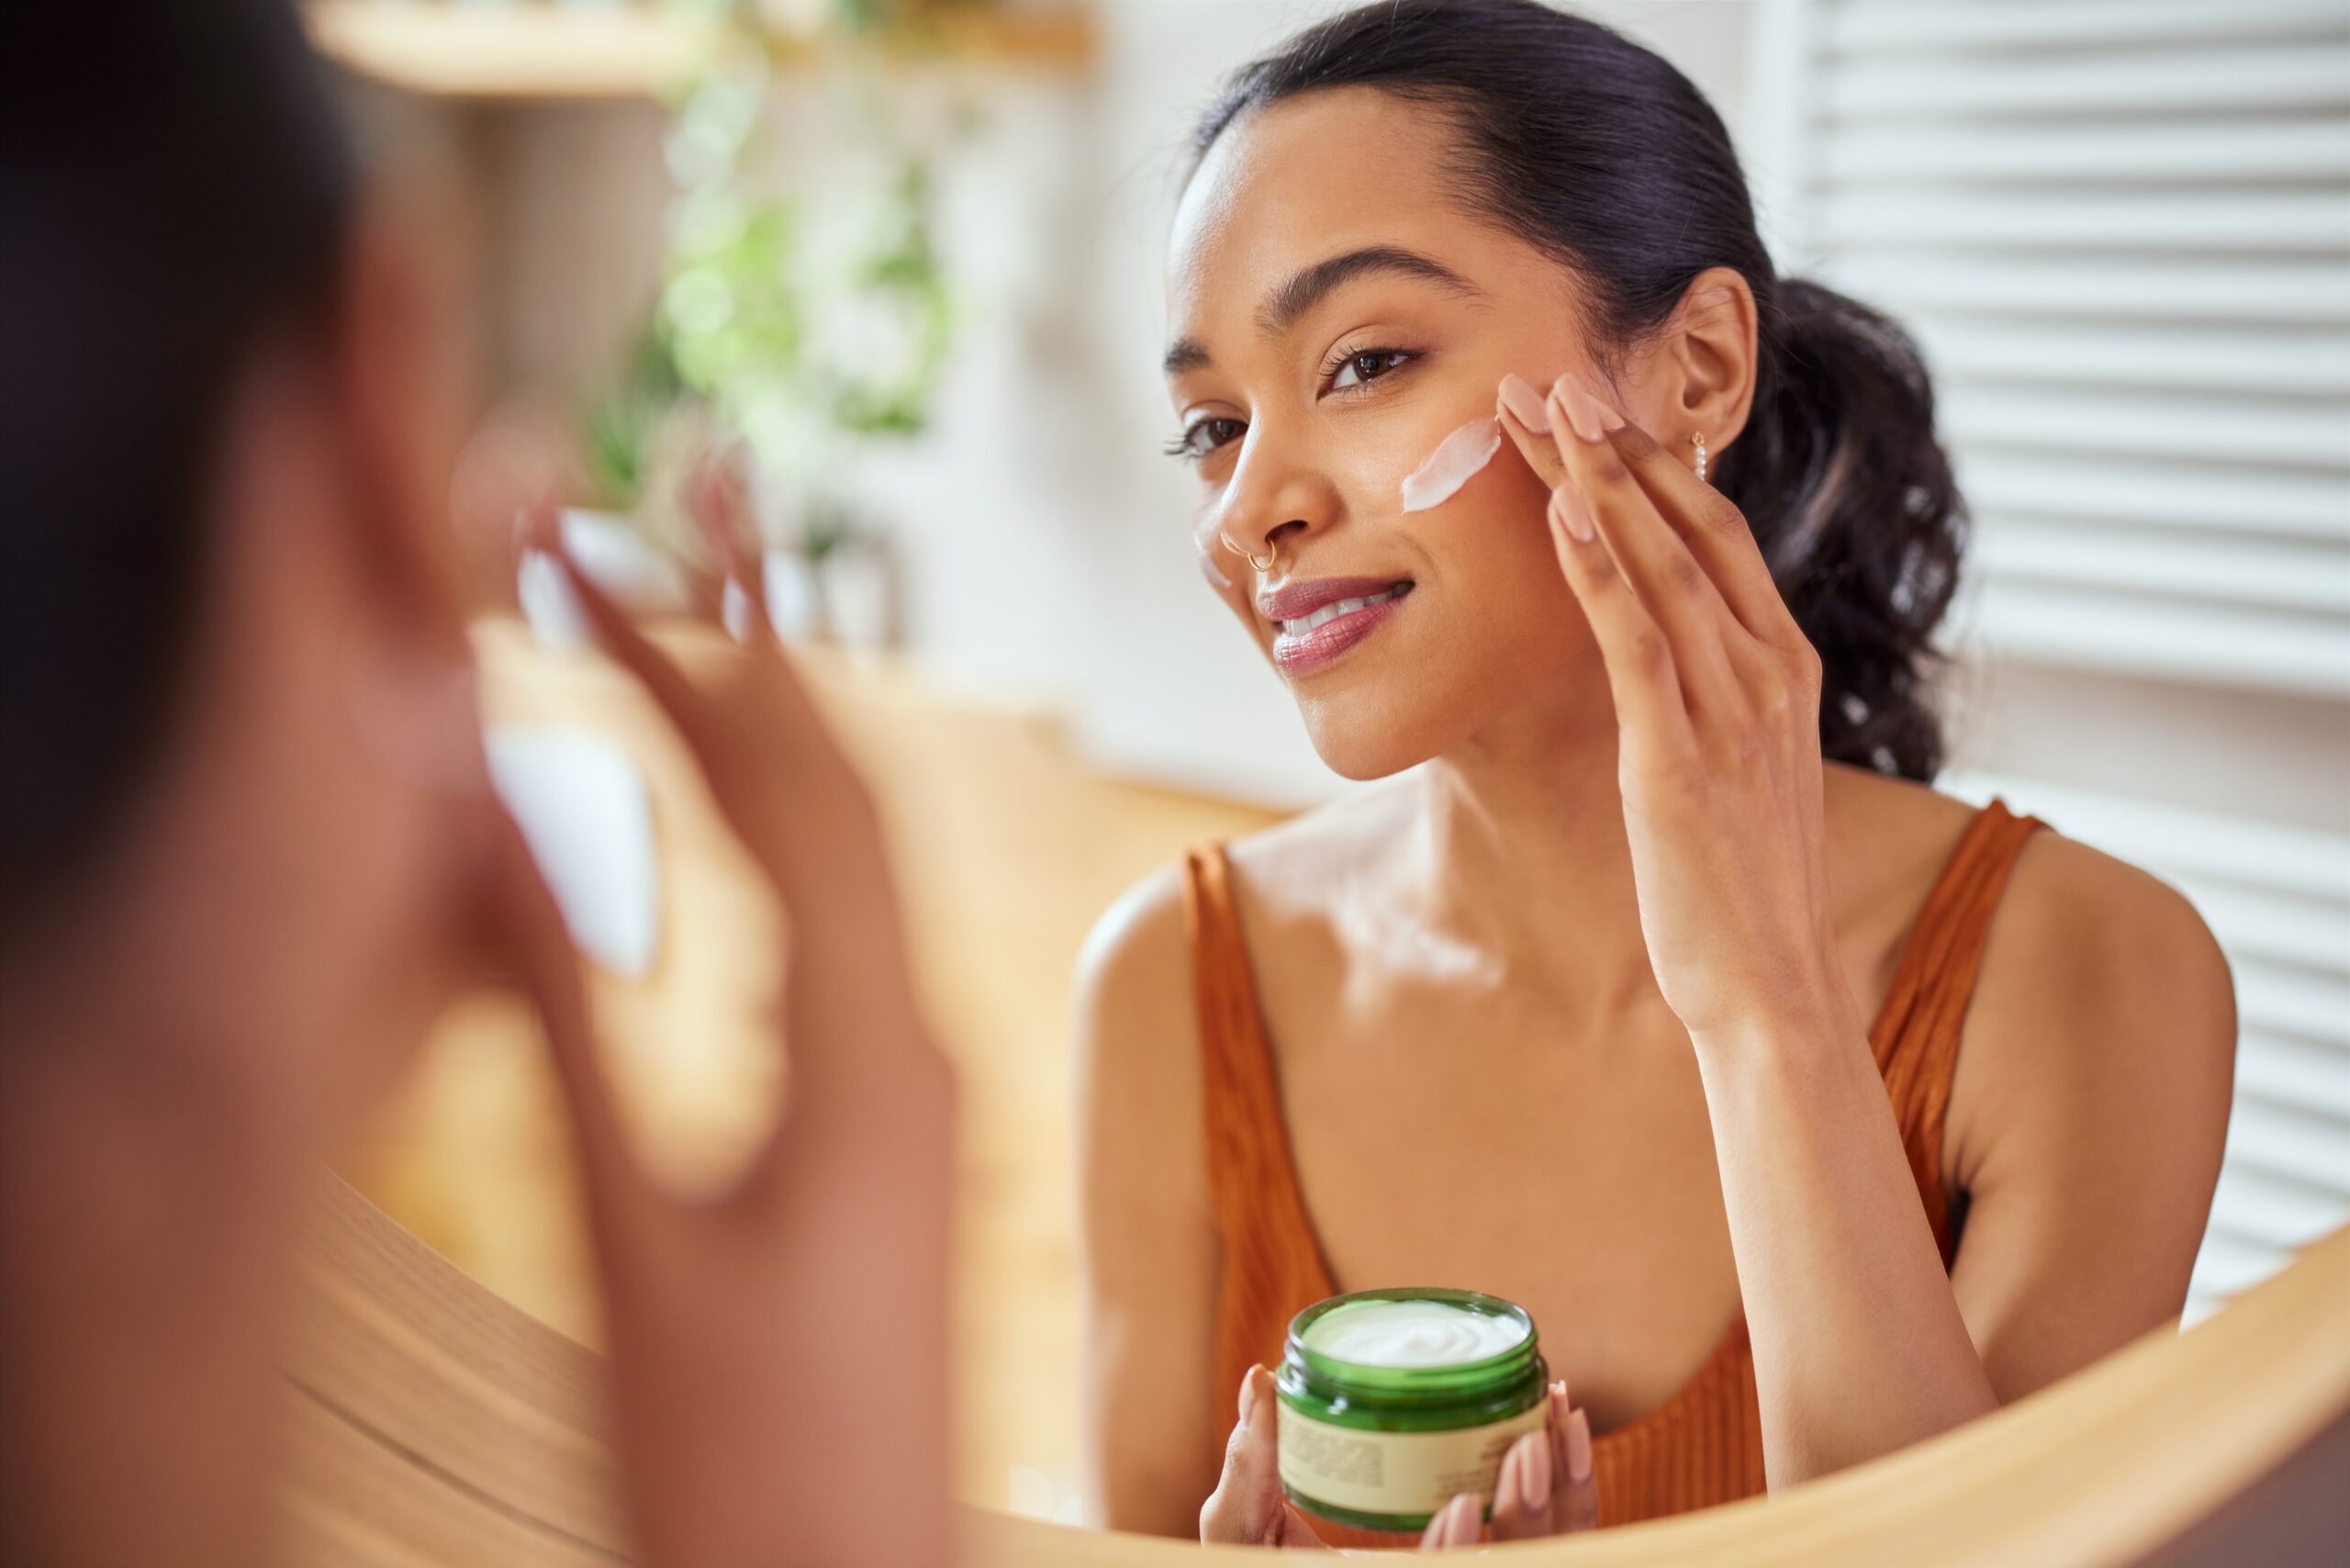
The skin under your eyes is thinner and more fragile and delicate than most areas of your body — for that reason, it’s also prone to showing faster signs of aging like crow’s feet, dark circles, and hyperpigmentation. Even if you’re already doing your due diligence and using sunscreen each day and maybe even a hydrating under-eye cream, you may have questions about how to effectively cover up your under-eye circles and visible signs of aging without it looking like your makeup has been caked on (or is about to slide off).
Makeup Artist Sonya Nicole has a few smart under-eye makeup tricks up her sleeve that will solve that problem pronto. And the best part? Nicole is over 40 and is offering a realistic, no-filter routine to cancel out bags and dark circle — which is super refreshing.
Here’s what Nicole has to say about how she minimizes her under-eye bags, wrinkles, and dark circles.
Prep Your Skin & Under-Eye Area
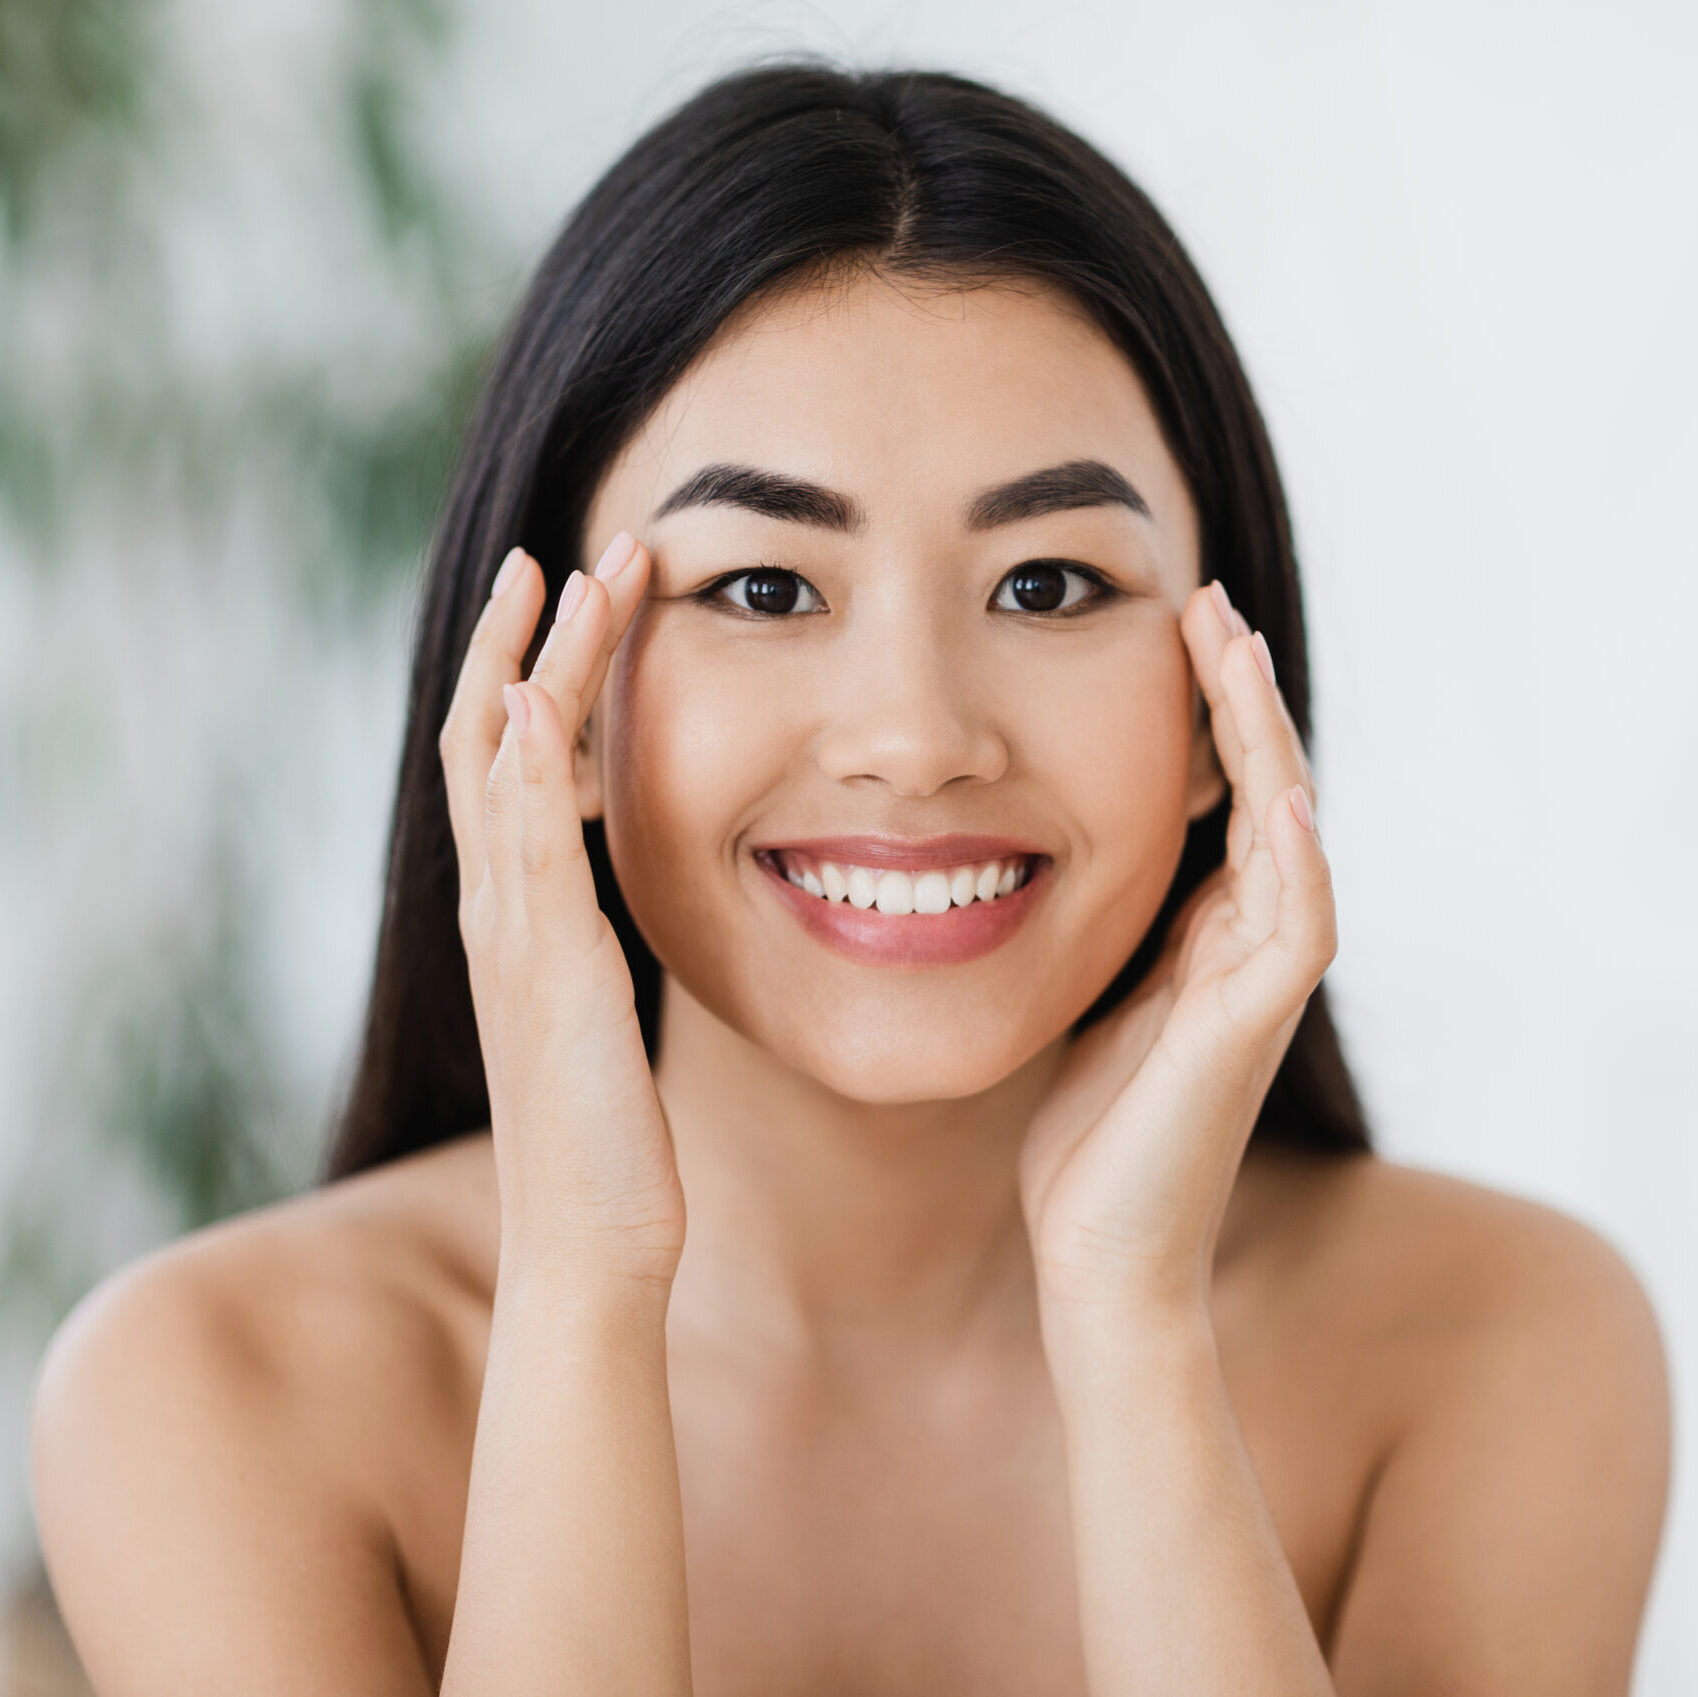
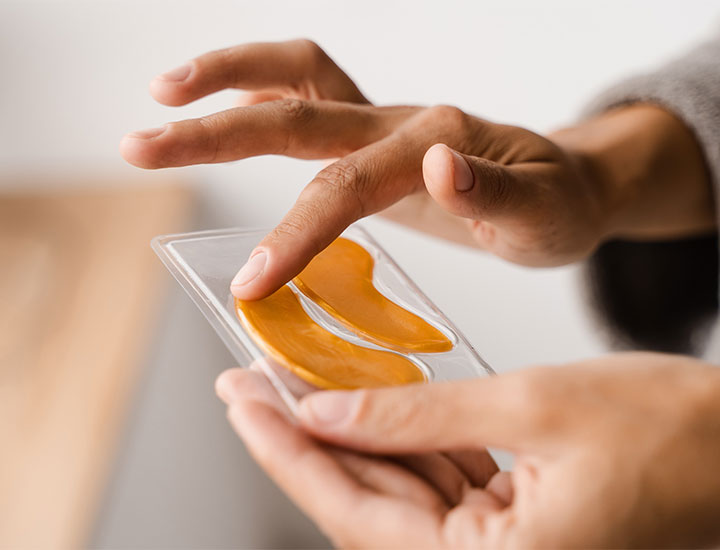
All good makeup starts with great skincare. Before she applies a stitch of concealer to her under-eye area, Nicole cleanses her skin and makes sure she hydrates her skin. Smooth and moisturized skin allows your makeup to glide on more effectively. You can use any combination of hyaluronic acid and moisturizer, but her personal favorites include:
* Good Molecules Hyaluronic Acid
* Fourth Ray Beauty Avocado and Aloe Double Shot Serum
* Formula 10.0.6 Core Restore Vitamin E Deeply Replenishing Face + Neck Cream
* Herbalife Herbal Aloe Broad Spectrum SPF 30
Consider The Order Of Your Products
If you use foundation, it’s totally fine to apply that first. But Nicole cautions against adding foundation to your under-eye area because it creates a build-up of makeup that is unnecessary. Blend it well around your under-eye area.
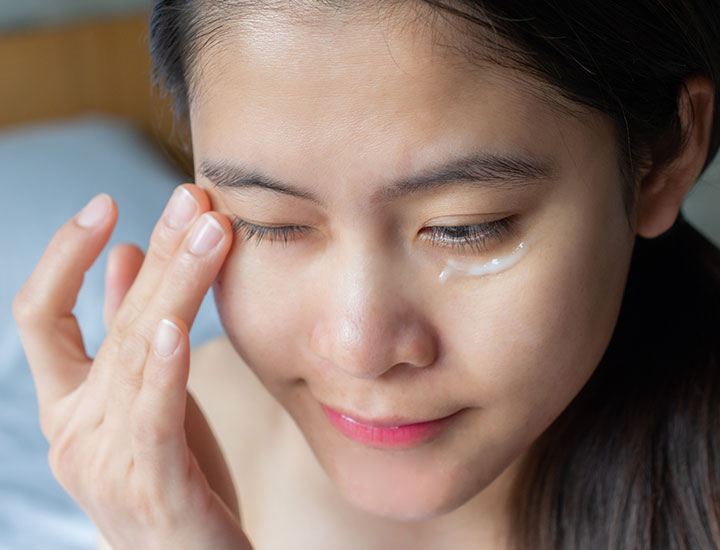
As Nicole begins to apply makeup to her under-eye area she says she tries to avoid placing it directly on fine lines because this accentuates them more. To combat her puffiness and dark circles, she starts with a color corrector and recommends a peachy corrector that will negate the purple tones under eyes.
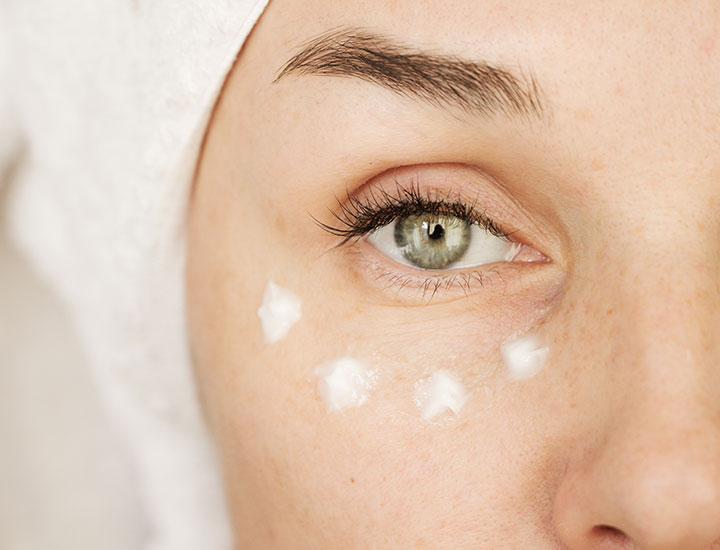
Using a small makeup brush, concentrate your color corrector JUST on the dark areas under your eyes. Pat the corrector down until it practically melts in. Nicole recommends using brushes instead of fingers because you may over-apply makeup with your fingers. Blend out your corrector so that you can’t tell where it starts and ends and then get ready to add a brightening concealer that’s 1-2 shades lighter than your skin tone. Nicole applies concealer to the inner corner of her eye, the outer corner, and any other area of her face where she wants coverage. She lets it sit under her eyes for a few minutes before blending it out with a brush (a sponge can sheer out your product, she says).
The final step is to set your makeup — Nicole prefers a pressed powder, which can be applied with a brush. Tap on the immediate under-eye area — and you’re ready to go.

Maintain Realistic Expectations
This point is important and it’s one Nicole mentions several times (and we love her for it). No matter how skilled a makeup artist you are and how well you can make your concealer and foundation sing, makeup has its limitations. You can absolutely make your eyes look more polished with makeup. But if you have fine lines, wrinkles, and other features that bother you, expecting yourself to look like a filtered photo isn’t real life. You will likely still see some crinkles and signs of expression when you smile and move your face — and that’s totally, 100 percent normal.
No matter what your age, Nicole’s tips just go to show that feeling like your best version of yourself is always the goal with makeup — but unrealistic “perfection” is not.


