SheFinds emphasizes that this review is not monetized, compensated, or sponsored in any way. This evaluation of the product is strictly based on the expertise of a beauty industry expert.
As time passes, our skin and lips undergo natural changes, with the loss of collagen resulting in less definition along the lip border, thinner appearance, dryness, and wrinkles. This can cause lipstick to appear uneven or bleed around the edges.
However, for those looking to enhance their pout over 50, Kimberly, a beauty expert with a YouTube channel called Pretty Over Fifty, has created a video outlining various tips and tricks for achieving a fuller, more radiant pout, along with some product recommendations. We broke down her tips below:
Exfoliating, Lip Liner And Lipstick For A Fuller-Looking Pout Over 50
Tip #1: Exfoliate 2-3 Times Per Week
"The first thing we want to address when we're talking about our lips and making them look a little bit bigger or fuller is to exfoliate them, just like we do with the rest of our face," Kimberly says at the beginning of the video. "It's the exfoliation that's going to help our lips look plumper, fresher and smoother," she adds.
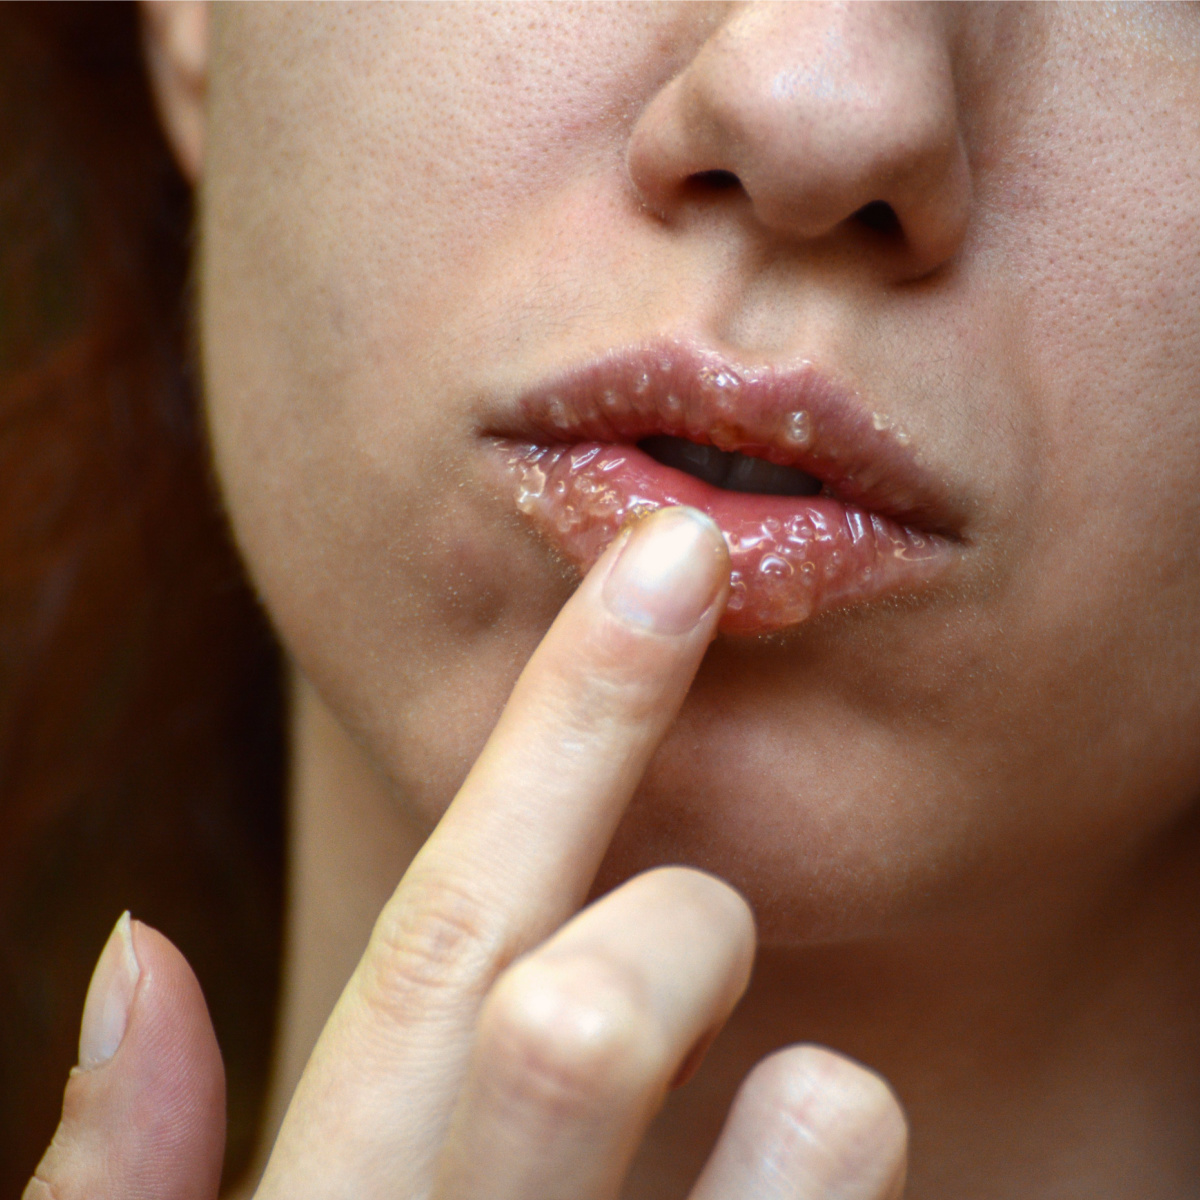
Her first choice and "easiest way" to exfoliate your pout is to just use your toothbrush. "You can take your brush and gently roll it around in small circles over your lips," she advises. "This is so easy to do and something you can do two to three times a week after you brush your teeth, so don't overlook your toothbrush as a great lip exfoliator."
She continues: "Another way to exfoliate your lips is with a lip scrub." She then showed herself applying the Hanalei Sugar Lip Scrub Exfoliator with her finger to her lips.
#2: Line Your Lips Before Your Corners
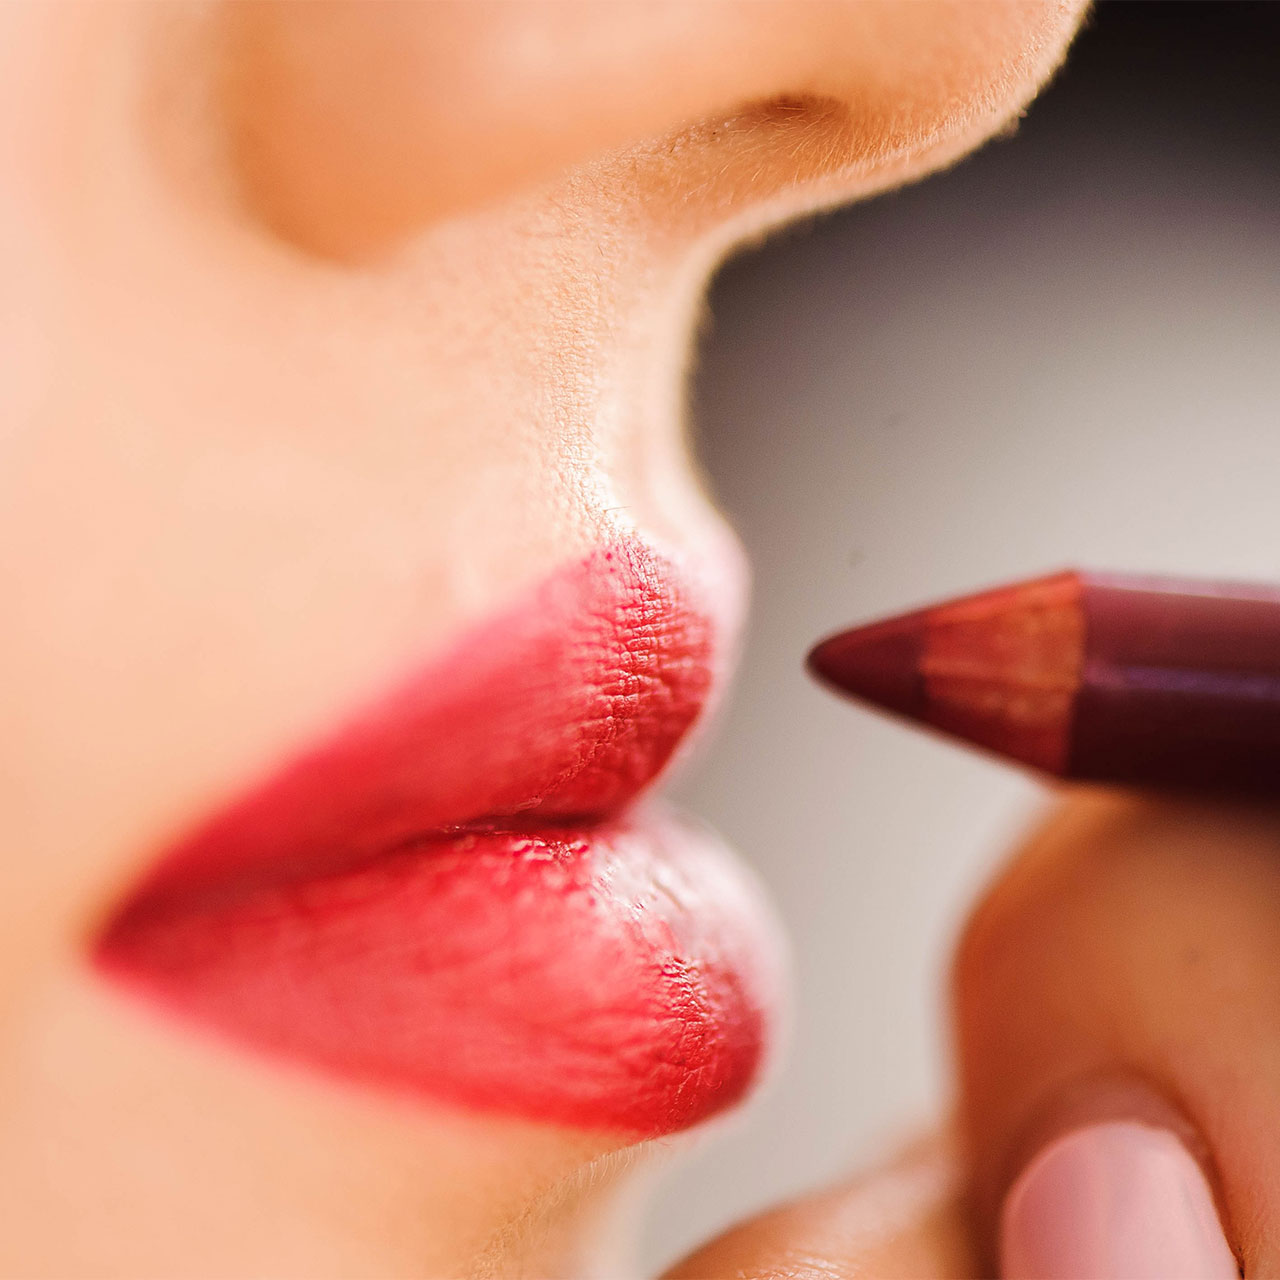
The next step is lip liner. "The corners of my mouth kind of crease down because of the skin not being as taut as it used to be," Kimberly acknowledges. "I've learned to line my lips in a way that's different than I used to, to really address the fact that the folds on the corners of my mouth can really move my lipstick around and make an unflattering line."
There are a few principles she says she uses when lining her lips. "The first is I don't take the lip liner or the lipstick down to the complete corner of my lips," she stresses. "Because that skin is folded over, it will collect the lipstick in there and I'll get that kind of smudgy lipstick/ gloppy look in the corner of my mouth."
#3: Overline Your Top Lip And Emphasize Your Cupid's Bow
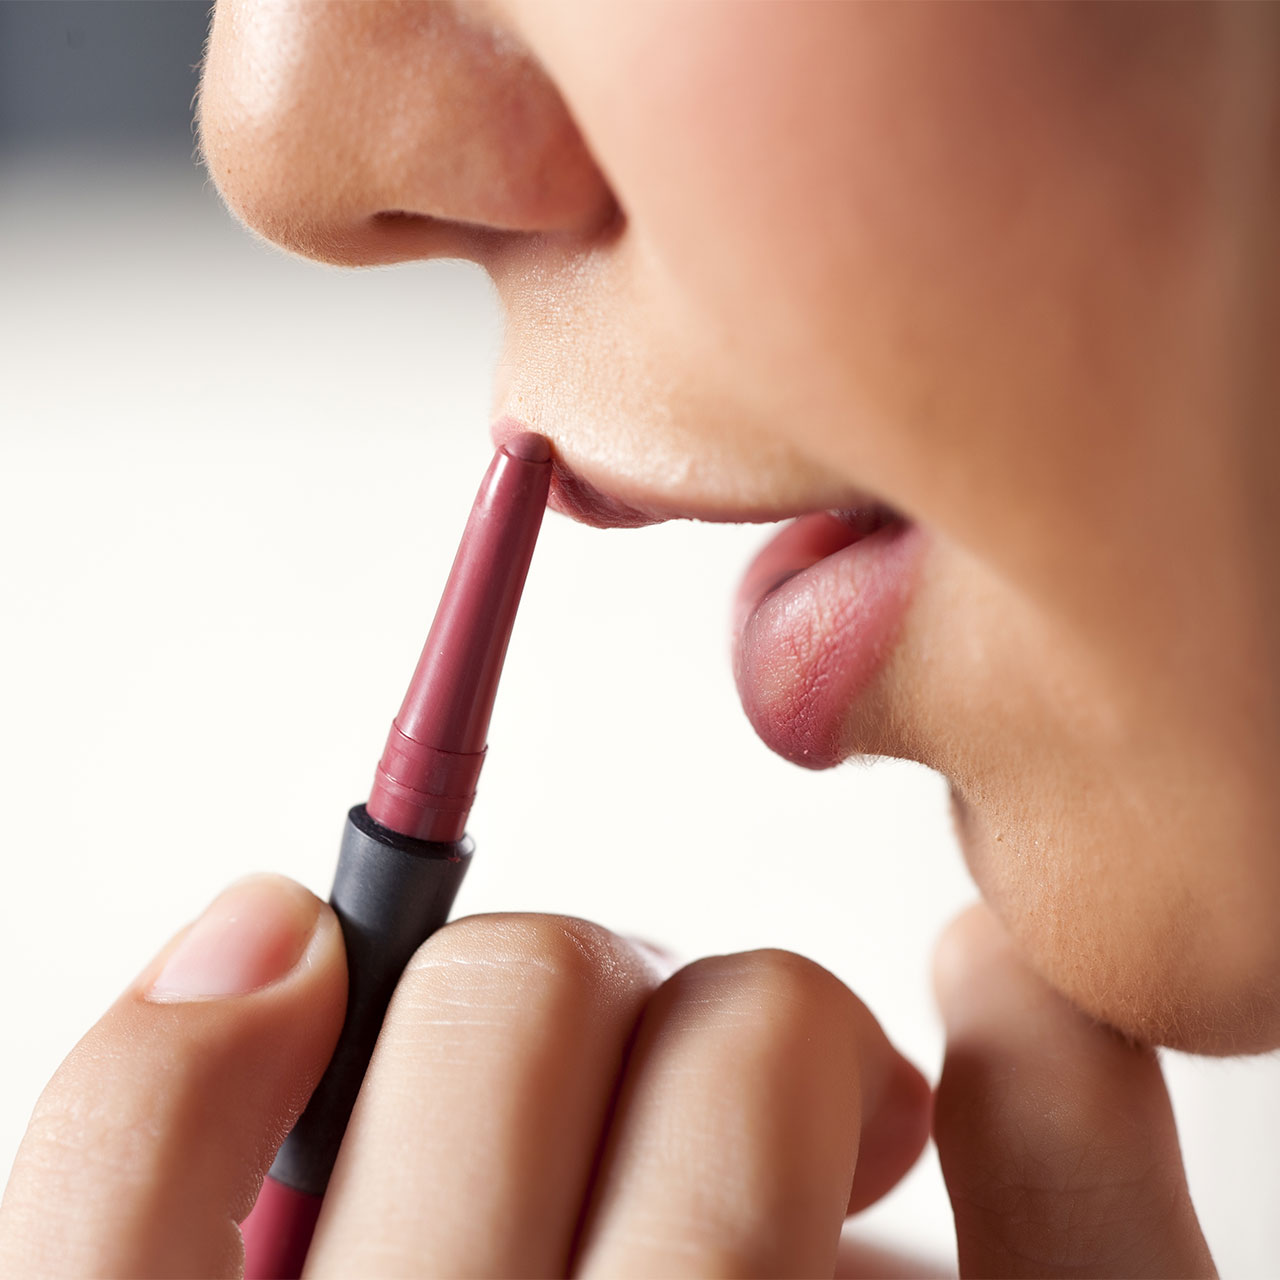
Kimberly explains that she's also learned to "cut the lip line down and I end it before that corner." Where she overlines her lips, however, is towards the center. "I'll make it a little bit higher right above that vermillion line or that little line that we all have around our lips," she notes. "I line to the outside of that line, towards the middle of my lips, so that makes my lips look fuller in the middle and it doesn't give me that overrun lipstick look on the corners."
She used the LA Girl Lip Liner in the shade, Blushing. She started out lining "towards the bottom" of her lip, and "before that crease happens." She went on: "I'm going to run that line up towards my cupid's bow. You can see here that I've started the line before the corner of my mouth and I have moved it up above the vermillion line towards the cupid's bow of my upper lip."
According to the YouTuber, at the point where the cupid's bow is located, you have two options; either tracing the line downwards or opting to bring it in a straighter fashion. "It's just a different look, one gives you a little poutier lip, and one gives you more of a defined lip," she points out. "I go right in between and bring that line a little bit above the vermillion line, right in that cupid's bow area. Then I start again, a little bit above the corner of my mouth."
The Bottom Line
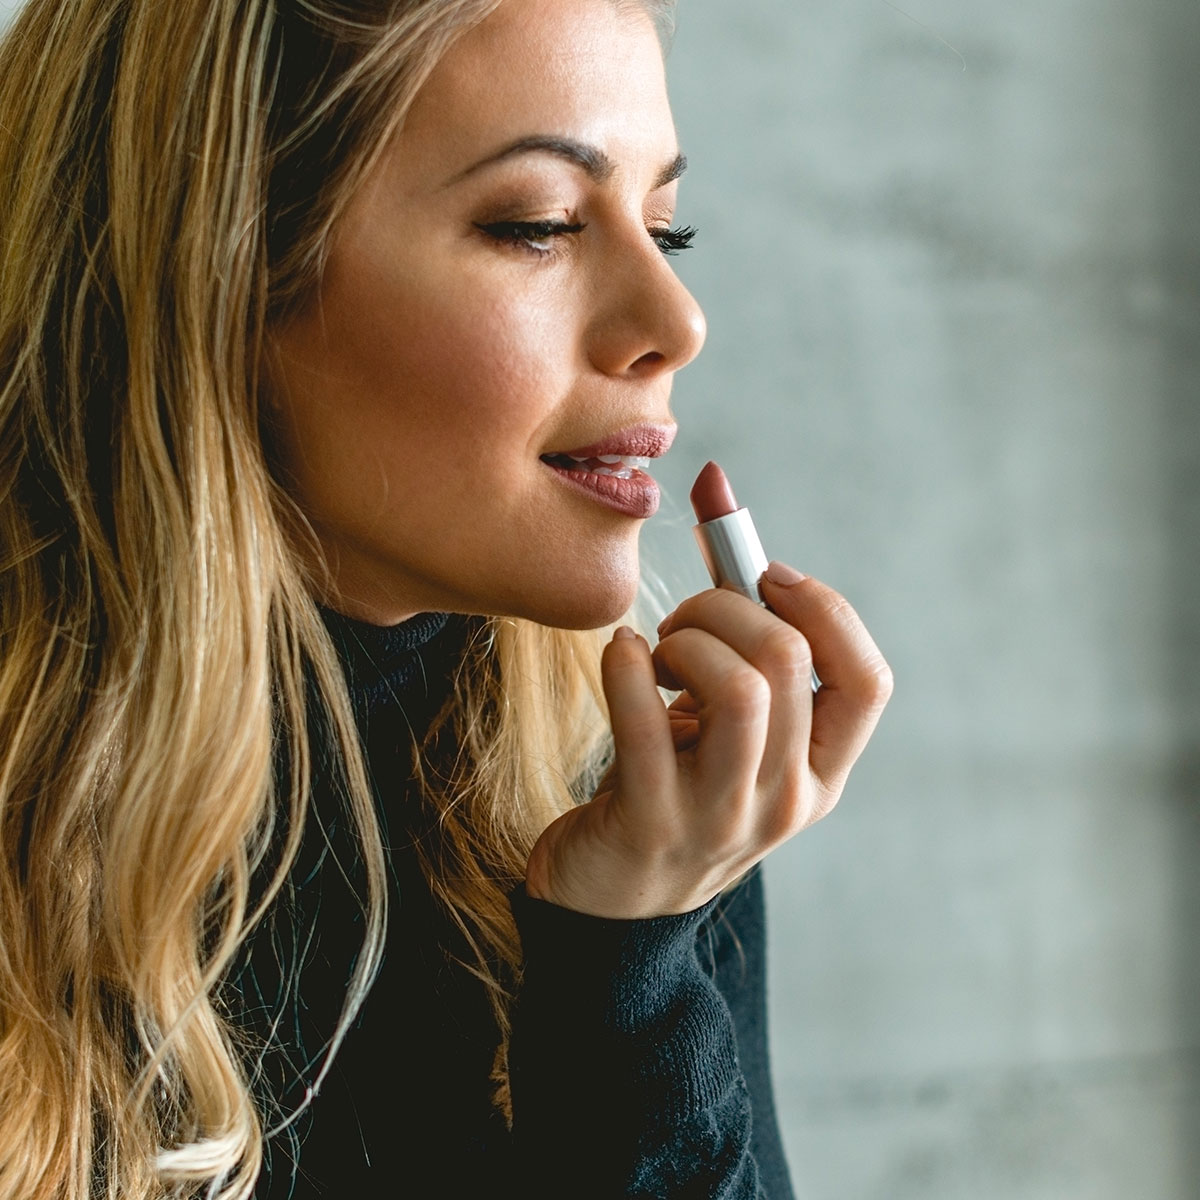
Wrapping up her tutorial, Kimberly told viewers: "You can see here that I have lined my lips starting a little bit in from the corners and then drawing it above that vermillion line so I have a little fuller lip line already before I've even put lipstick on." The makeup artist went on: "To address the bottom, I again start before that corner and I'm going to bring the line down below my vermillion line as I get towards the middle of my bottom lip."
She then used the same lip pencil to fill in the rest of her lips. She reached for her Revlon Matte Lipstick in the pink shade, 'Wild Thoughts,' placing the lipstick over her drawn lip liner shape."We have one more step that'll make the lips look even fuller, she said, referring to LA Girl Glossy Lip Gloss in the shade, 'Pink Up.'
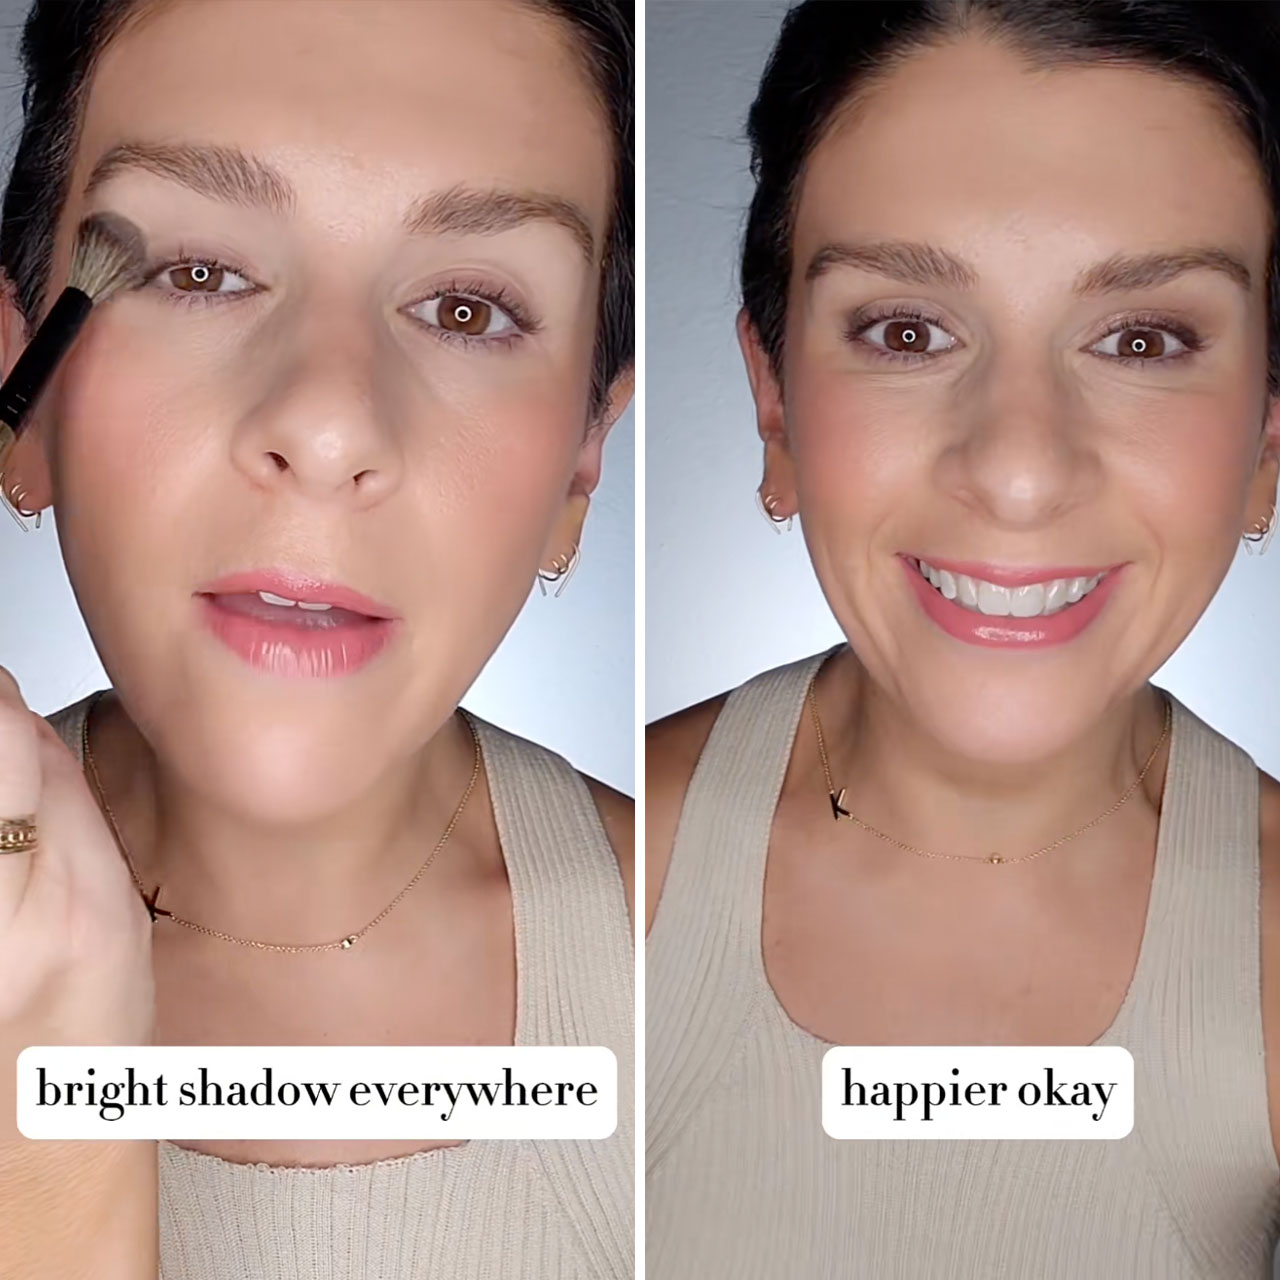
She put a "very small amount" of the plumping gloss on top of the other products, then showing a before and after slide that demonstrated how much fuller and plumper her lips looked thanks to her techniques.


