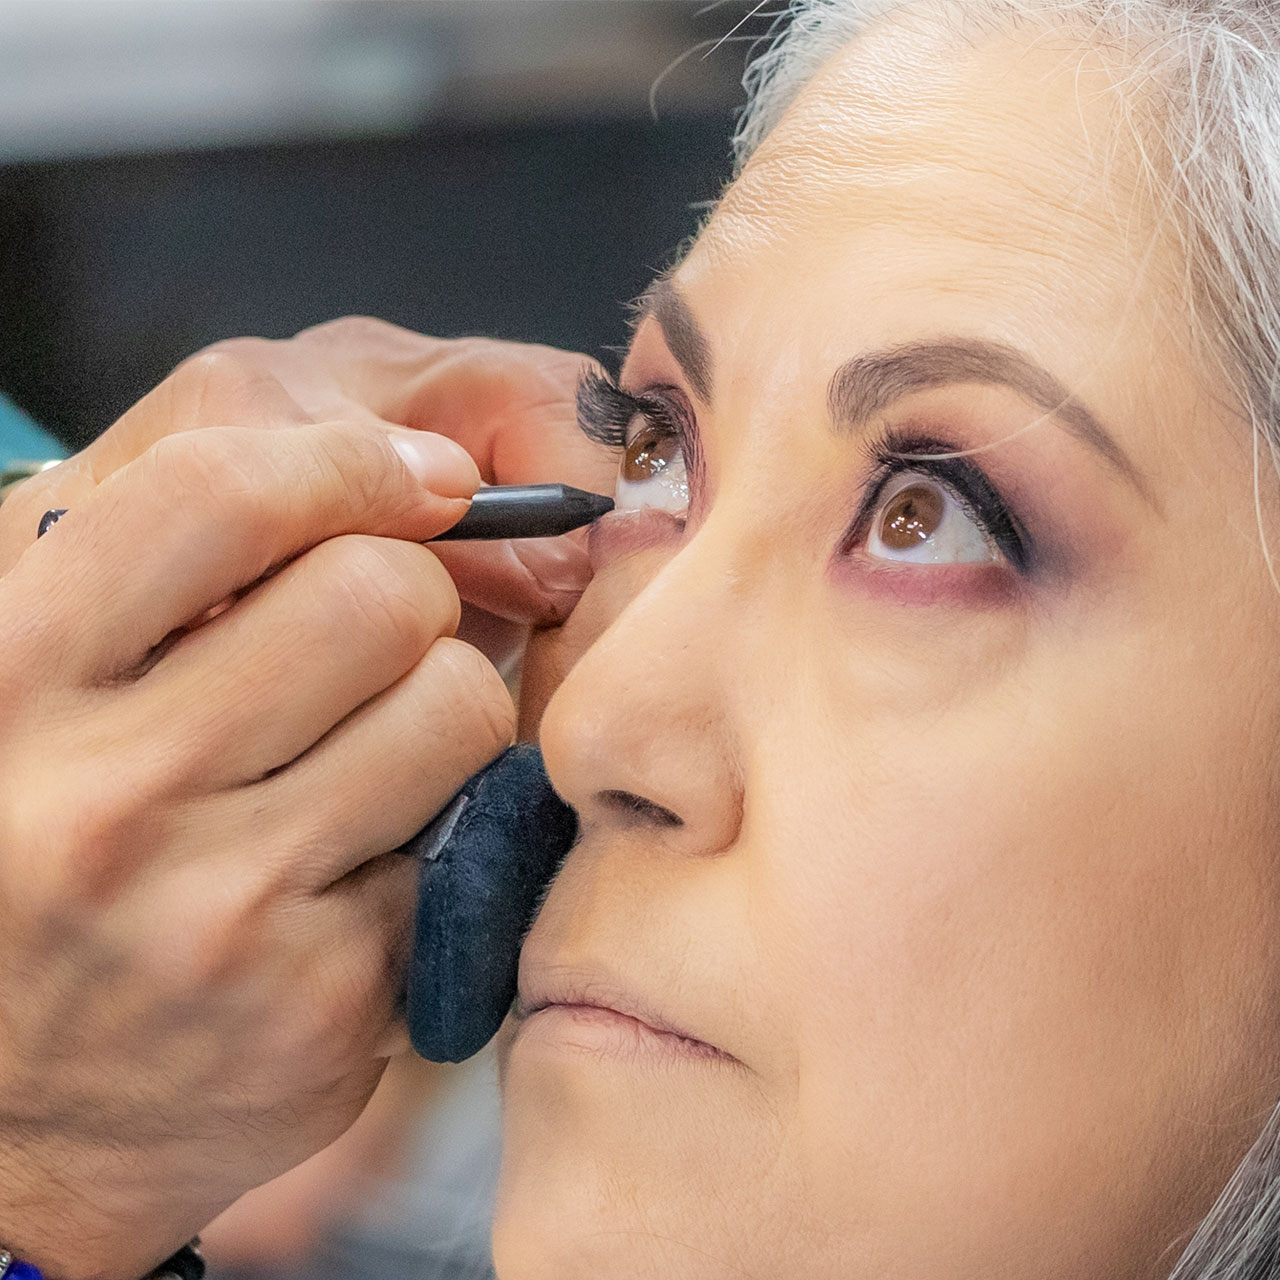
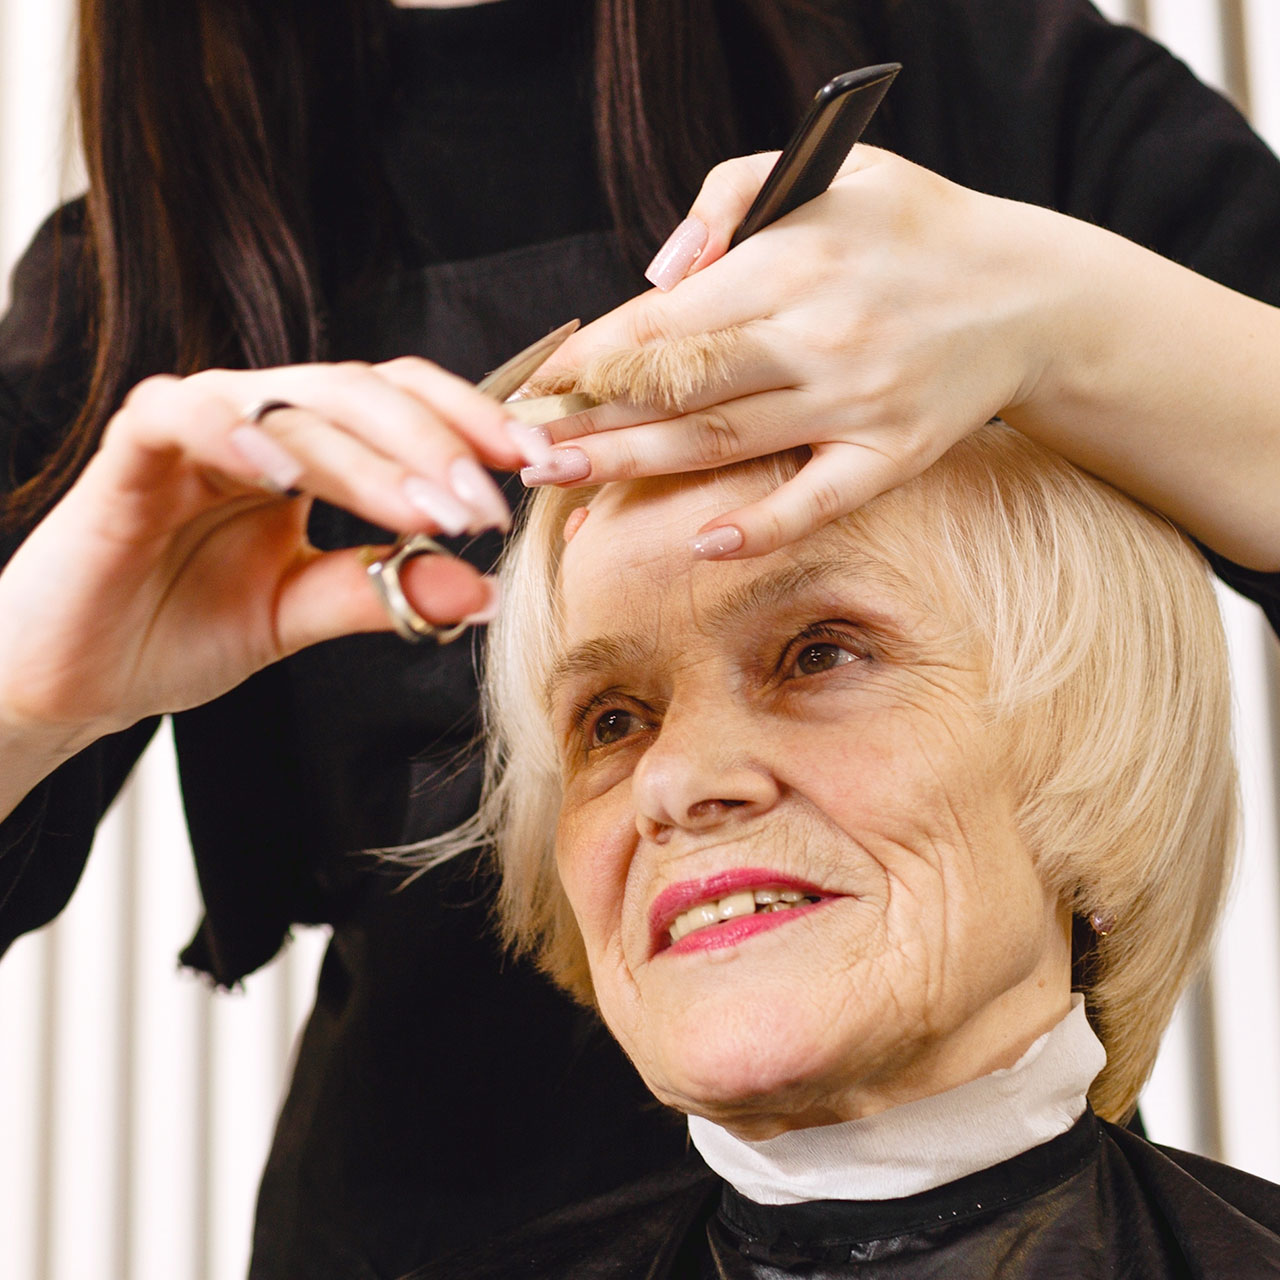
Winged eyeliner is one makeup trend that never seems to show its expiration date. If you look at old photos of sophisticated grandma’s all dolled up, you may notice plenty of them rocked winged eyeliner — and it’s a makeup look that has endured and stood the test of time. A clever swipe of black or brown liner gives the eyes a sultry, lifted look. If you have hooded eyes, it adds an additional benefit: while most eyeshadows just disappear onto your covered lid, winged eyeliner won’t be silenced. Even if you weren’t born with the hooded eye shape, many of us experience some sagging on the lid area that can create a hooded appearance. For this reason, it can prove even more difficult to achieve an effortless makeup result when you’re over 50.
But it’s far from impossible — you just need a few good tips, including this one from Makeup Expert Nikola Johnson.
Here, Johnson explains her tried-and-true tip for mastering winged eyeliner when you’re over 50.

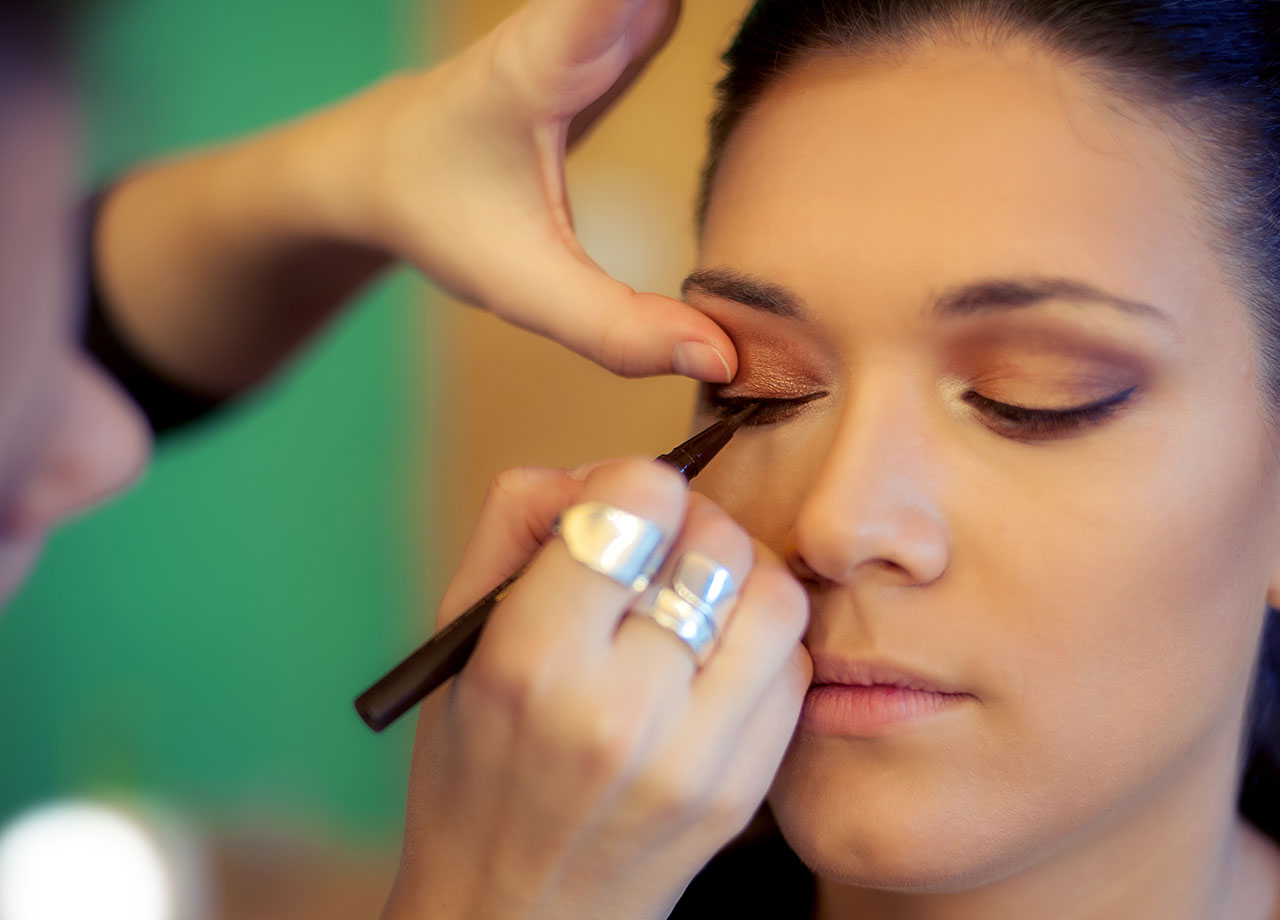
Start With an Eyelid Primer
Your first step before beginning any eye makeup routine is — always — to apply an eyelid primer. Primer is important for a few reasons. It neutralizes the color of your lid, which means any redness or blue from veins is dimmed down so that your lid reflects the tone of your skin. Primer also allows makeup colors to go on with more vibrancy, and it keeps makeup in place so that your liner and shadow isn’t sliding off of your face by 3pm. Remember: the lids can get oily throughout the day, which will affect your makeup. Primer is one great product that combats that.
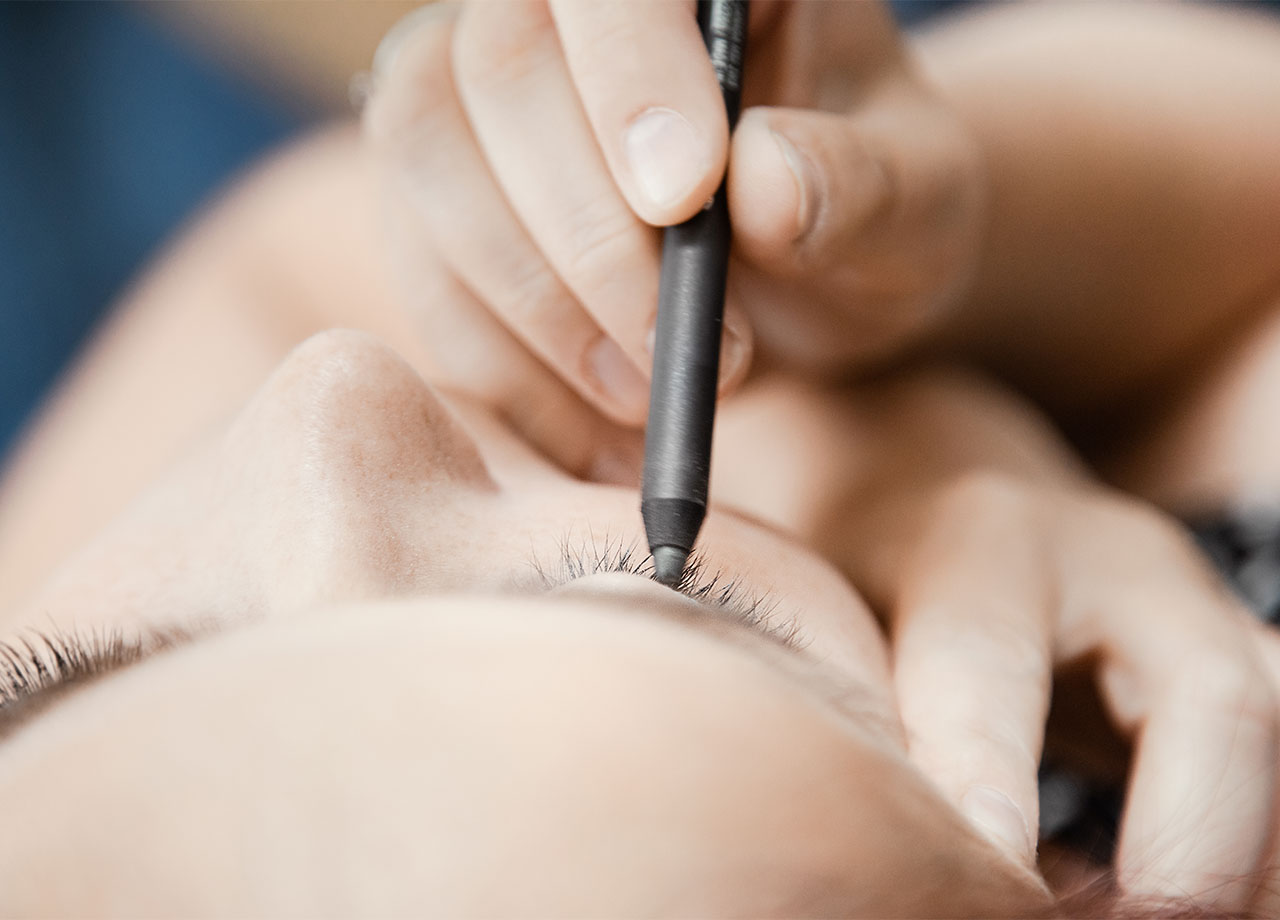
Apply a Neutral Shadow & Curl Lashes
Even if you want to focus your makeup on winged eyeliner, it’s a good idea to apply a neutral eyeshadow over your entire lid to continue to help cancel out blue, green, and red undertones. The color is up to you — but keep it on the lighter side and free of glitter and sparkle. Johnson follows this up by curling her lashes with an eyelash curler.
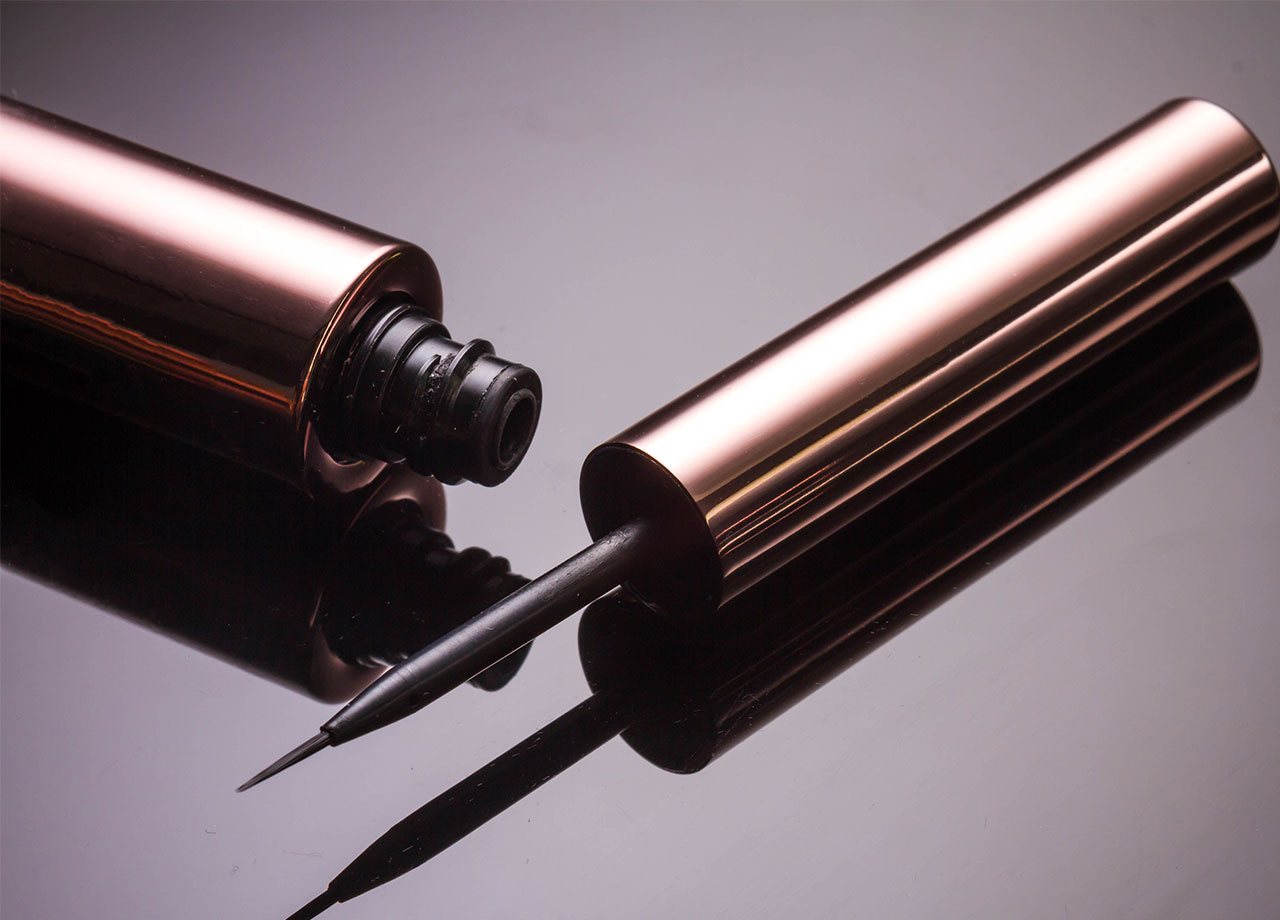
Draw On Your Finger
Now it’s time for Johnson’s winged eyeliner trick. Start off with a creamy eyeliner. Instead of drawing a line directly on your eye, you’re going to draw a line on the pad of your index finger, closer to the side by your nail. The reason for this is because you’re going to take this line, place it at the corner of your eye, and press down and sweep up to create a DIY eyeliner stamp.
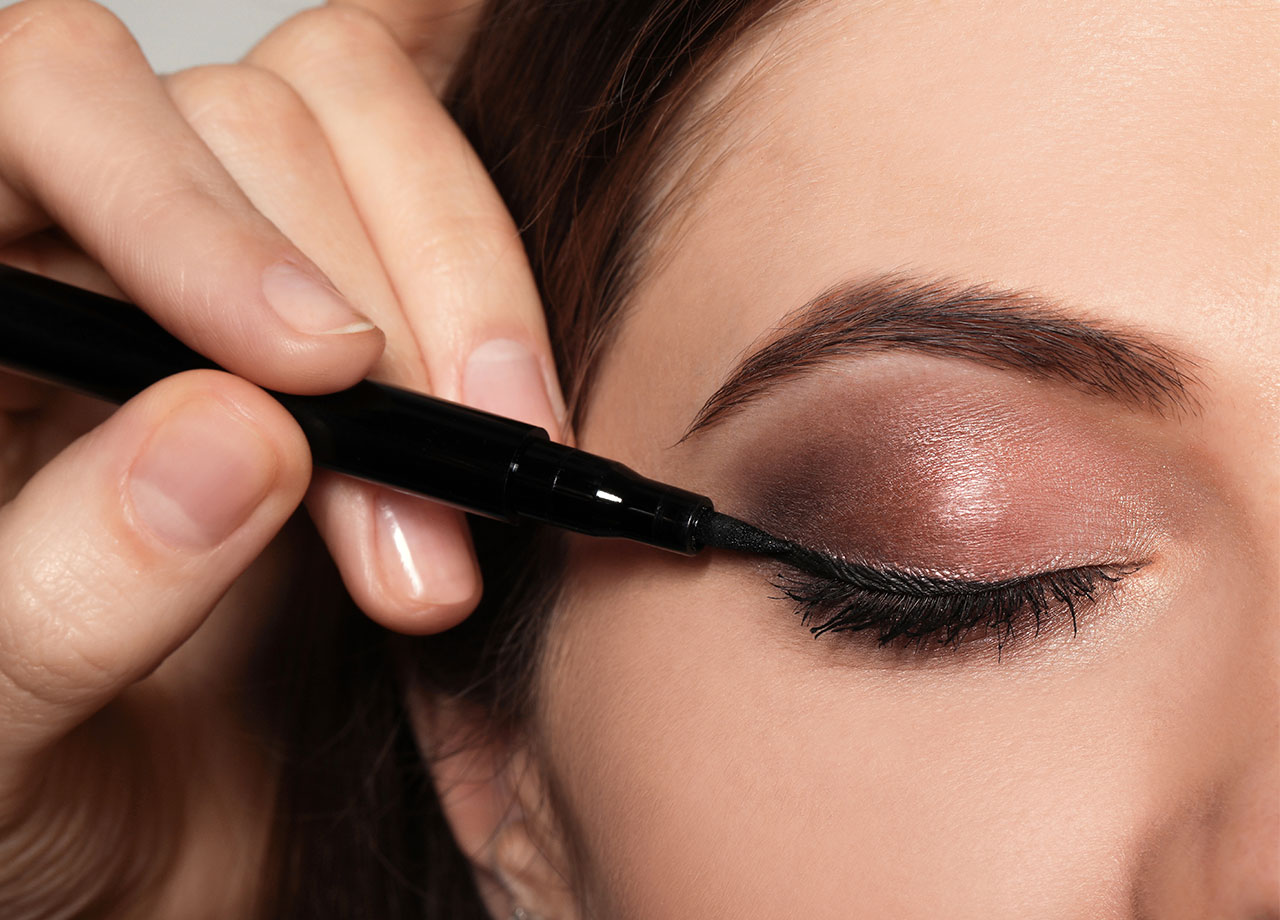
Johnson stresses the importance of not trying to get this trick perfect the first time — practice makes perfect. Press your finger against the corner of your eye and apply the liner from your finger by sweeping upward — it’s always better to go slightly higher on your eye than lower. Johnson also keeps Q-tips on hand and doesn’t apply makeup to her face before working on her eyes — that way, if you do make a mistakes, it’s easier to remove without messing up your entire makeup look.
Once you have your winged eyeliner “stencil” on the corner of your eye, you can take your pencil and fill in any holes and gaps. You can also use the Q-tip to clean up areas and help create the line you want.
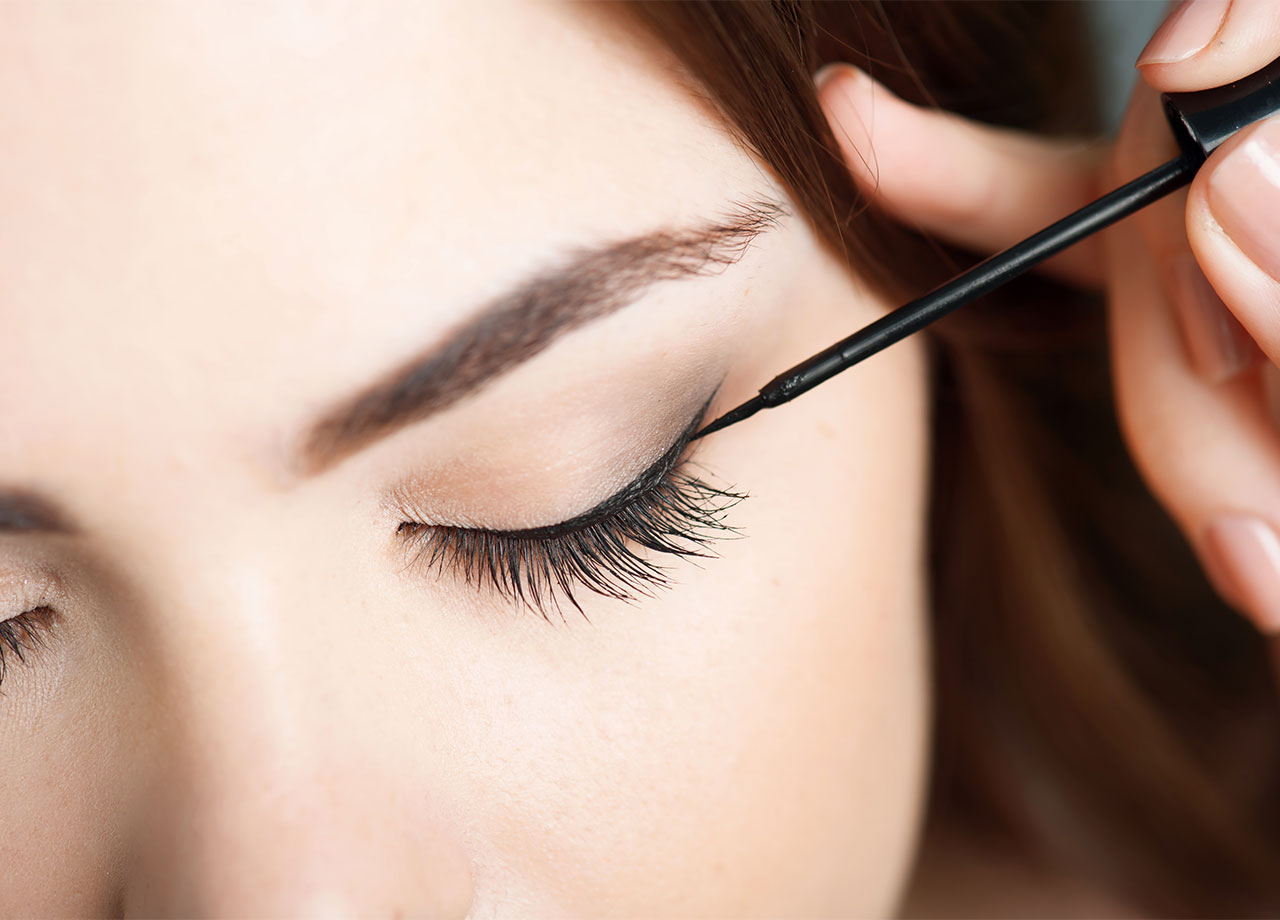
Finally — mascara. No eye makeup look is complete without it. Johnson recommends using a volumizing mascara and keeping it simple. If, after you apply mascara, you don’t see as much of your winged liner, feel free to take your eyeliner pencil and go over that line again. With your eye makeup complete, now is the perfect time to apply concealer, color corrector, and foundation to your skin, if you choose to use these products.
And, voila — a simple eyeliner hack that will get you out the door faster.


