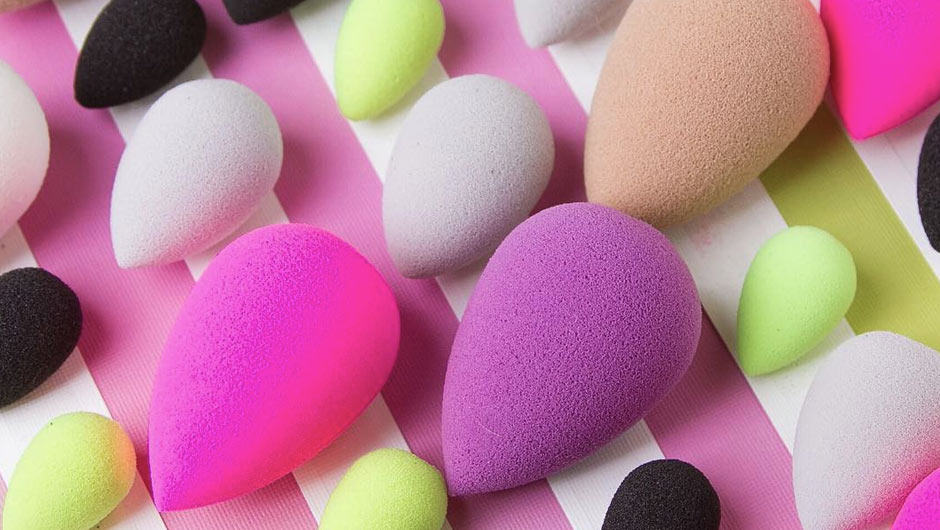
The other day, my coworker came into the office raving about the new beautyblender nude. She excitedly proclaimed that it was far superior to her other beautyblenders. I was under the impression that all beautyblenders were the same, regardless of color. They all do the same thing, right? Intrigued by my coworker’s claim, I set off to investigate the subtle differences between each of the beautyblenders. Each color was designed with a different purpose in mind, but do they actually work differently? This is what I found:
Pink: This is the OG beautblender. The best-selling bright pink beauty sponge is meant to be used for primers, foundations, powders, cream blushes, and other complexion products. I personally like the original pink sponge the best. It provides seamless coverage and has the most “bounce.” One of the most noticeable differences with the pink beautyblender is that the pink dye runs from the sponge when you wash it. Years ago, I attended a session with beautyblender founder, Rea Ann Silva. She told me that once the pink dye stops running from the beautyblender, it’s time to get a new one. It’s a good indicator as to when it’s time to toss your sponge.
White: Also known as the beautyblender pure ($20). This was designed to apply skincare products so you don’t have to use your fingers. It’s supposed to imitate the egg and be “clean and simple.” The white version is also dye-free. If you have sensitive skin, and are afraid you might have a reaction to the dye in other beautyblenders, this might be a good option for you. I found that I was not a fan of the white beautyblender for the sole reason that it looks dirty after a few uses. Even if you clean it properly, makeup tends to stain the sponge. However, if you’re using it solely for skincare products, like creams and serums, these products are less likely to stain the white sponge.
Black: The beautyblender pro ($20) was designed for makeup artists. The black sponge displays makeup pigment more prominently for a true-to-color application. I found that the texture of the beautyblender pro was slightly rougher than the original version. It is more firm and has less bounce than the pink sponge. Overall, it was my least favorite. However, I like to use the black version to apply self-tanners and other darker toned products.
Nude: The beautyblender nude ($20) is newest member of the beautyblender family. The nude has a slightly lighter feel than the black version. I have to agree with my coworker: for some reason, the nude sponge feels softer than the others. Also, this sponge did not bleed any dye when I cleaned it.
Red: This is the beautyblender red.carpet ($20). The red shade was created in collaboration with Sephora to celebrate Award Season. The red sponge is very similar to the pink version in texture and “bounce.” It bleeds red dye when you wash it.
Purple: The beautyblender royal was a limited edition launch sold at Sephora. The application and texture of the purple sponge is comparable to the red beautyblender. The purple dye did not run when I cleaned mine, but I read online that some people have experienced color bleeding when they washed their beautyblender royal.
Yellow: Beautyblender partnered with Supergoop! for this limited-edition, yellow sponge. Only available at beautyblender.com, this sponge comes with a free mini Supergoop! sunscreen. I wasn’t able to try this one, but I thought it was worth mentioning since 20% of the proceeds go to Alex’s Lemonade Stand.
It’s important to remember that all beautyblenders are meant to be used while they are damp. This makes a huge difference in application. Check out these tips to make sure you are using your beautyblender the right way.
[Image: Facebook.com/@beautyblender]
Beauty, makeup, tips and advice

