Your iPhone camera has come a long way since the advent of the iPhone. It’s not uncommon for many people to rely solely on their phones to take quality photos, and their devices rarely let them down. But as good as the iPhone is at intuitively focusing on subjects on your screen and capturing vivid color and dimension, there are specific settings on your phone you may not know about that can make your photos look even more professional.
Just as a professional camera is only as good as the photographer who understands which lenses to use and has a working knowledge of aperture and shutter speed, becoming more familiar with your iPhone settings and camera settings will help you take more stunning photos.
These two expert-approved tips can maximize your iPhone camera’s photo quality for stunning results.

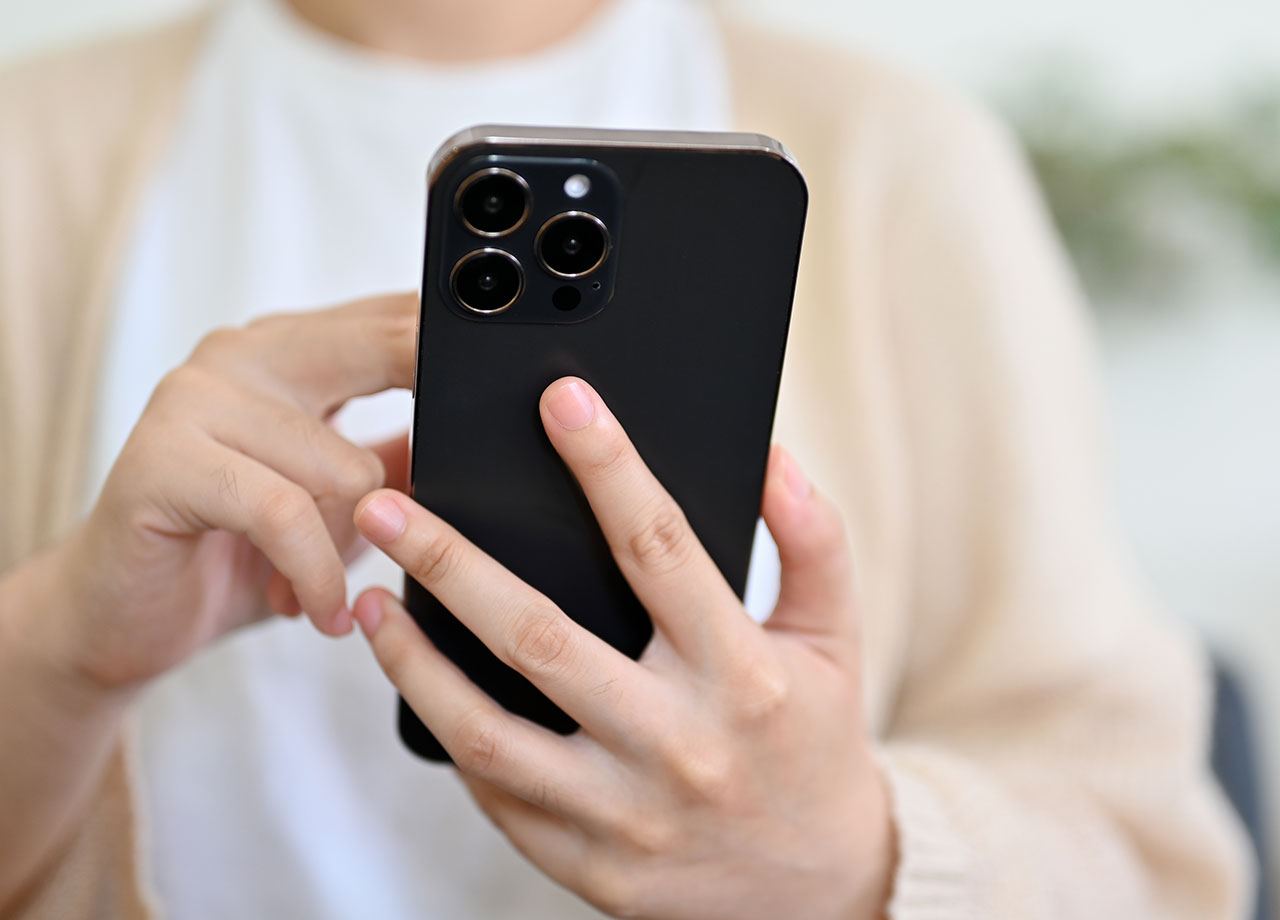
1. Prioritize Faster Shooting
This setting is great to have enabled at all times, but is especially helpful if you’re taking more than one photo in one sitting. It allows your camera to more rapidly capture images and prioritizes speed over quality. If you’re taking action shots at a sporting event, for example, this is the setting that will help ensure you capture that great serve or dunk and that all of your fast photos aren’t blurry as can be.
While it’s true that the compromise here will be a slight decrease in image quality, this is barely detectable to most users and worth the trade-off. To enable the setting go to Settings > Camera > Prioritize Faster Shooting.
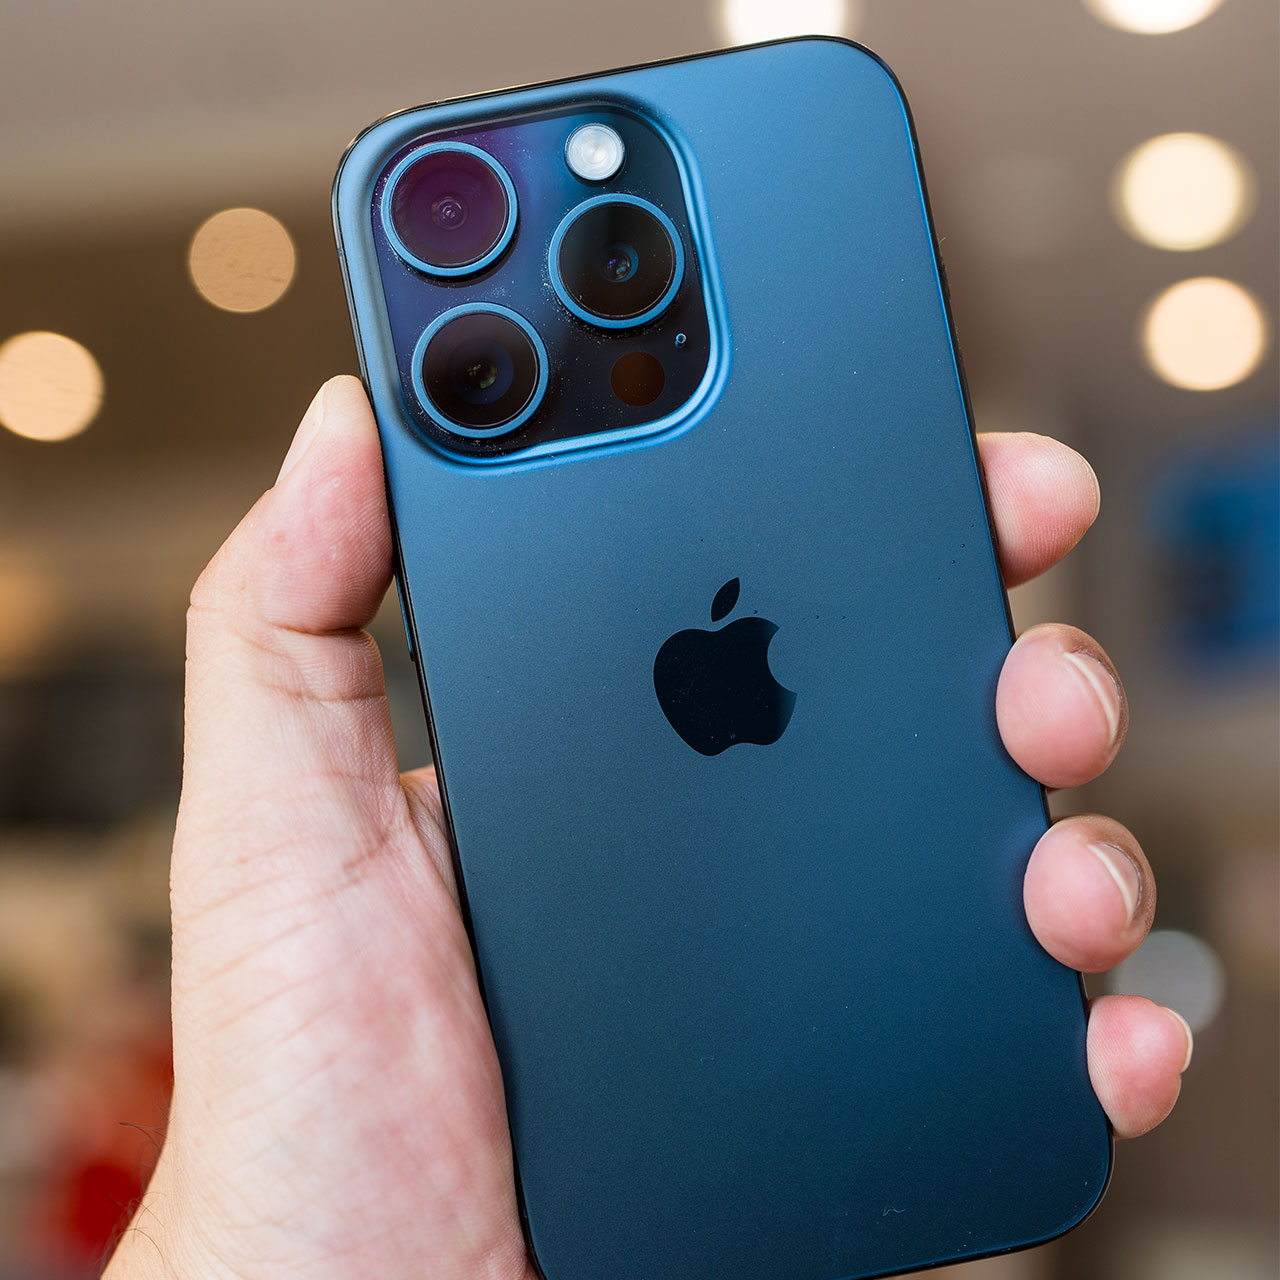
2. Adjust Exposure
Unless you’re shooting photos in a controlled environment like a studio, with professional lighting, you can’t always control the light that is highlighting your subject. Light can make or break any photo, which is why it’s so helpful to adjust the exposure on your camera setting so that it’s perfect for each photo you take. Adjusting the exposure helps ensure your photos aren’t too dark or too light.
To adjust the exposure while snapping a photo, go to the camera app and tap on the area of the screen where you’d like your focus to be. A small sun icon with a vertical slider will appear at the bottom of your screen. Slide this up or down to adjust the exposure. You can also lock the exposure by pressing and holding the area that you tapped until you see “AE/AF Lock” pop up on your screen.


