Your iPhone may not be completely secure, despite how well Apple keeps up on security measures when compared to other operating systems. You can’t always count on a big-name company to keep your data private, even if they do a decent job at this most of the time. Instead, it’s important to take steps on your own — beef up your own phone’s security — and make use of a few great settings that can help you keep your data as private as possible.
Apple may market their phones as “private,” but that doesn’t mean you get privacy by default, explains the tech experts at All Things Secured. You could be making these four unexpected iPhone mistakes that are putting your personal data at risk. Here are four mistakes and how to correct them so you can keep your data more secure.


1. Not Using Apple’s ADP
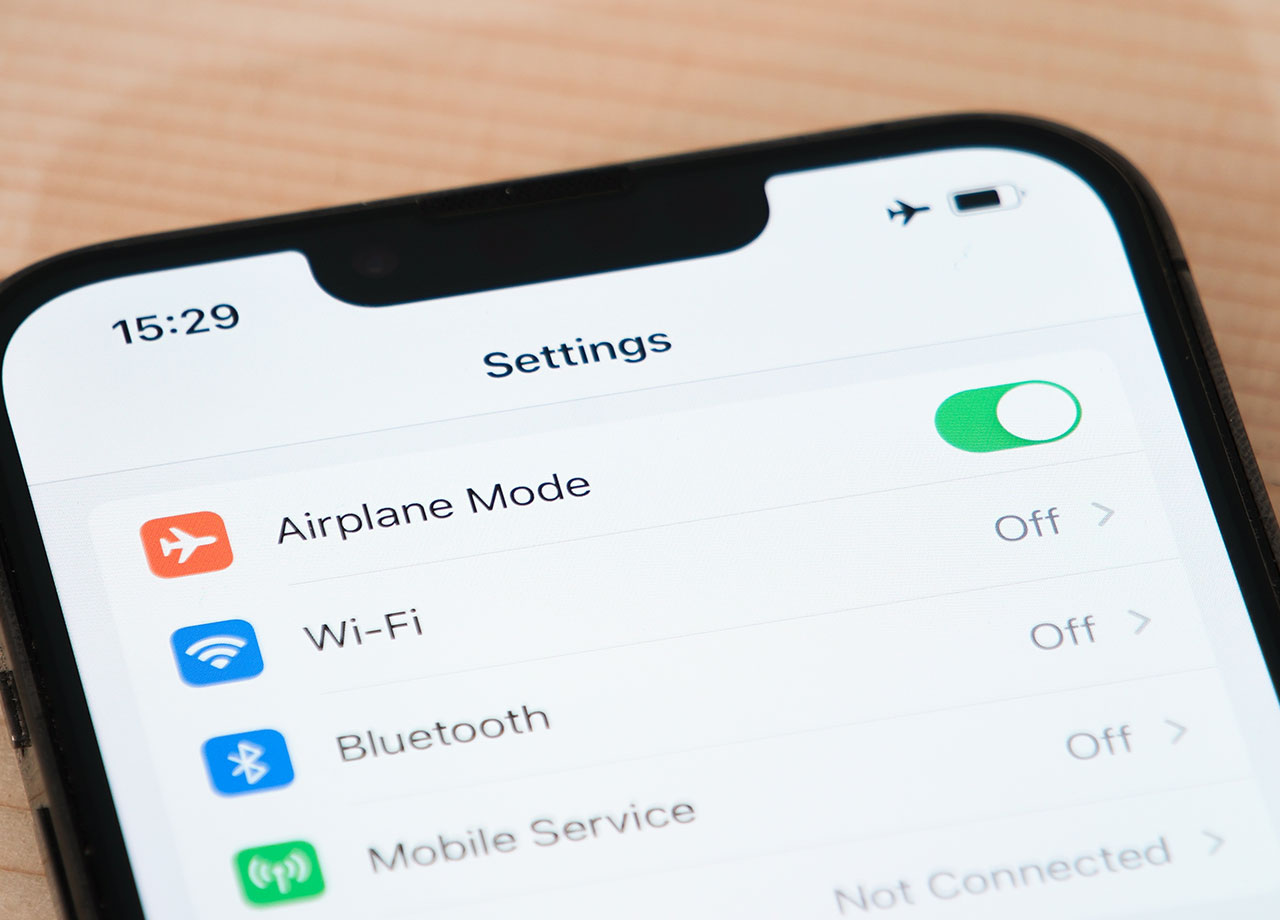
By default, all of the data we upload to iPhone, including photos, can be seen by Apple. By using Apple's Advanced Data Protection, or ADP, you set end-to-end encryption on your phone, and this means you get to control your encryption keys and Apple won’t be able to see or access any data that you store in iCloud. To check if this setting is turned on (or turn it on for the first time) go to Settings > Apple ID > iCloud > Advanced Data Protection.

2. Not Using Two-Factor Authentication
Two-factor authentication is the added layer of security that you need when using apps and websites that contain personal data. When 2FA is enabled, you no longer rely on just the default six-digit passcode method, but the website you’re attempting to sign into will also require a code that is sent to your email or phone.
Go to Settings > Sign-in & Security > Two-Factor Authentication. Make sure it’s turned on.

1. Prioritize Faster Shooting
This setting is great to have enabled at all times, but is especially helpful if you’re taking more than one photo in one sitting. It allows your camera to more rapidly capture images and prioritizes speed over quality. If you’re taking action shots at a sporting event, for example, this is the setting that will help ensure you capture that great serve or dunk and that all of your fast photos aren’t blurry as can be.
While it’s true that the compromise here will be a slight decrease in image quality, this is barely detectable to most users and worth the trade-off. To enable the setting go to Settings > Camera > Prioritize Faster Shooting.

4. Never Deleting Messages
One of the biggest mistakes we make is keeping all of our text messages because we are scared of losing information that we need later on. But what ends up affecting your device isn’t so much the text part of the message, but the attachments — including photos — that are lingering on your phone and could be a data and privacy concern. To change your message history, go to Settings > Messages > Scroll down to “keep messages” > choose “1 year” or “30 days.” This setting will allow you to get rid of all of those messages you don’t need without having to stop and delete them one by one. And, chances are, if you aren’t looking back at that message after one year or even 30 days, you likely won’t miss it once it’s gone.


